Now some details of making the hats
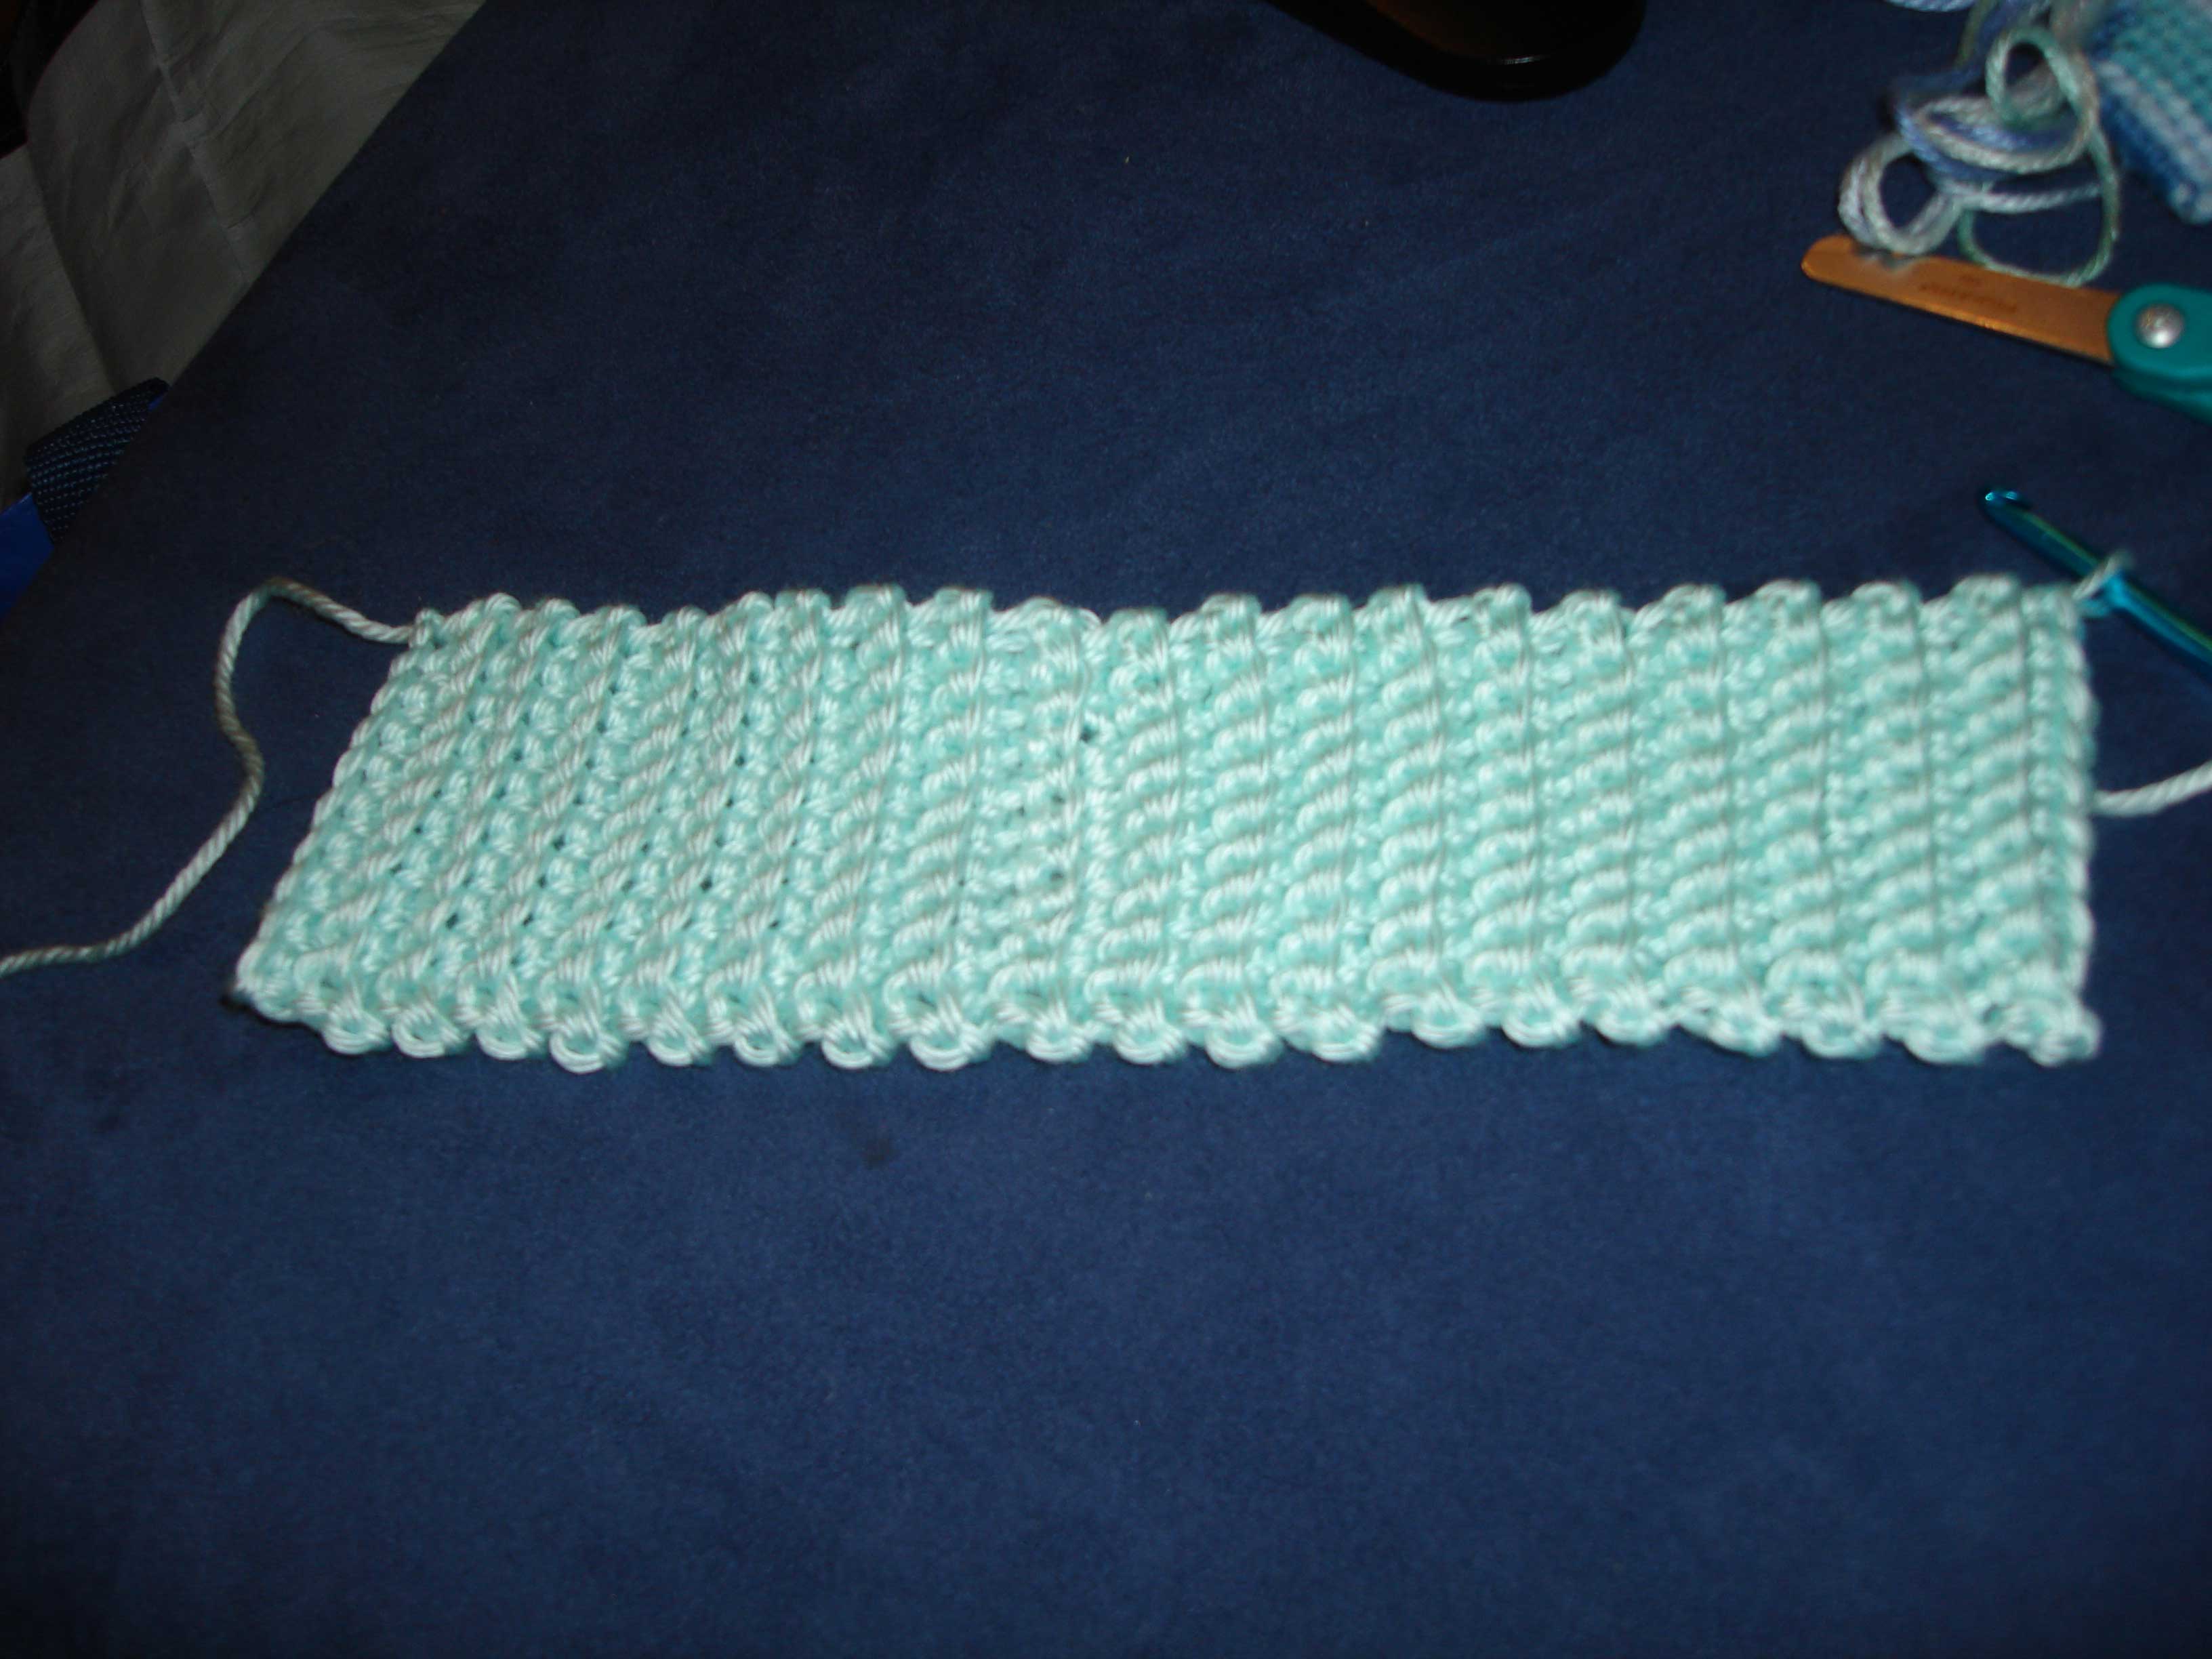
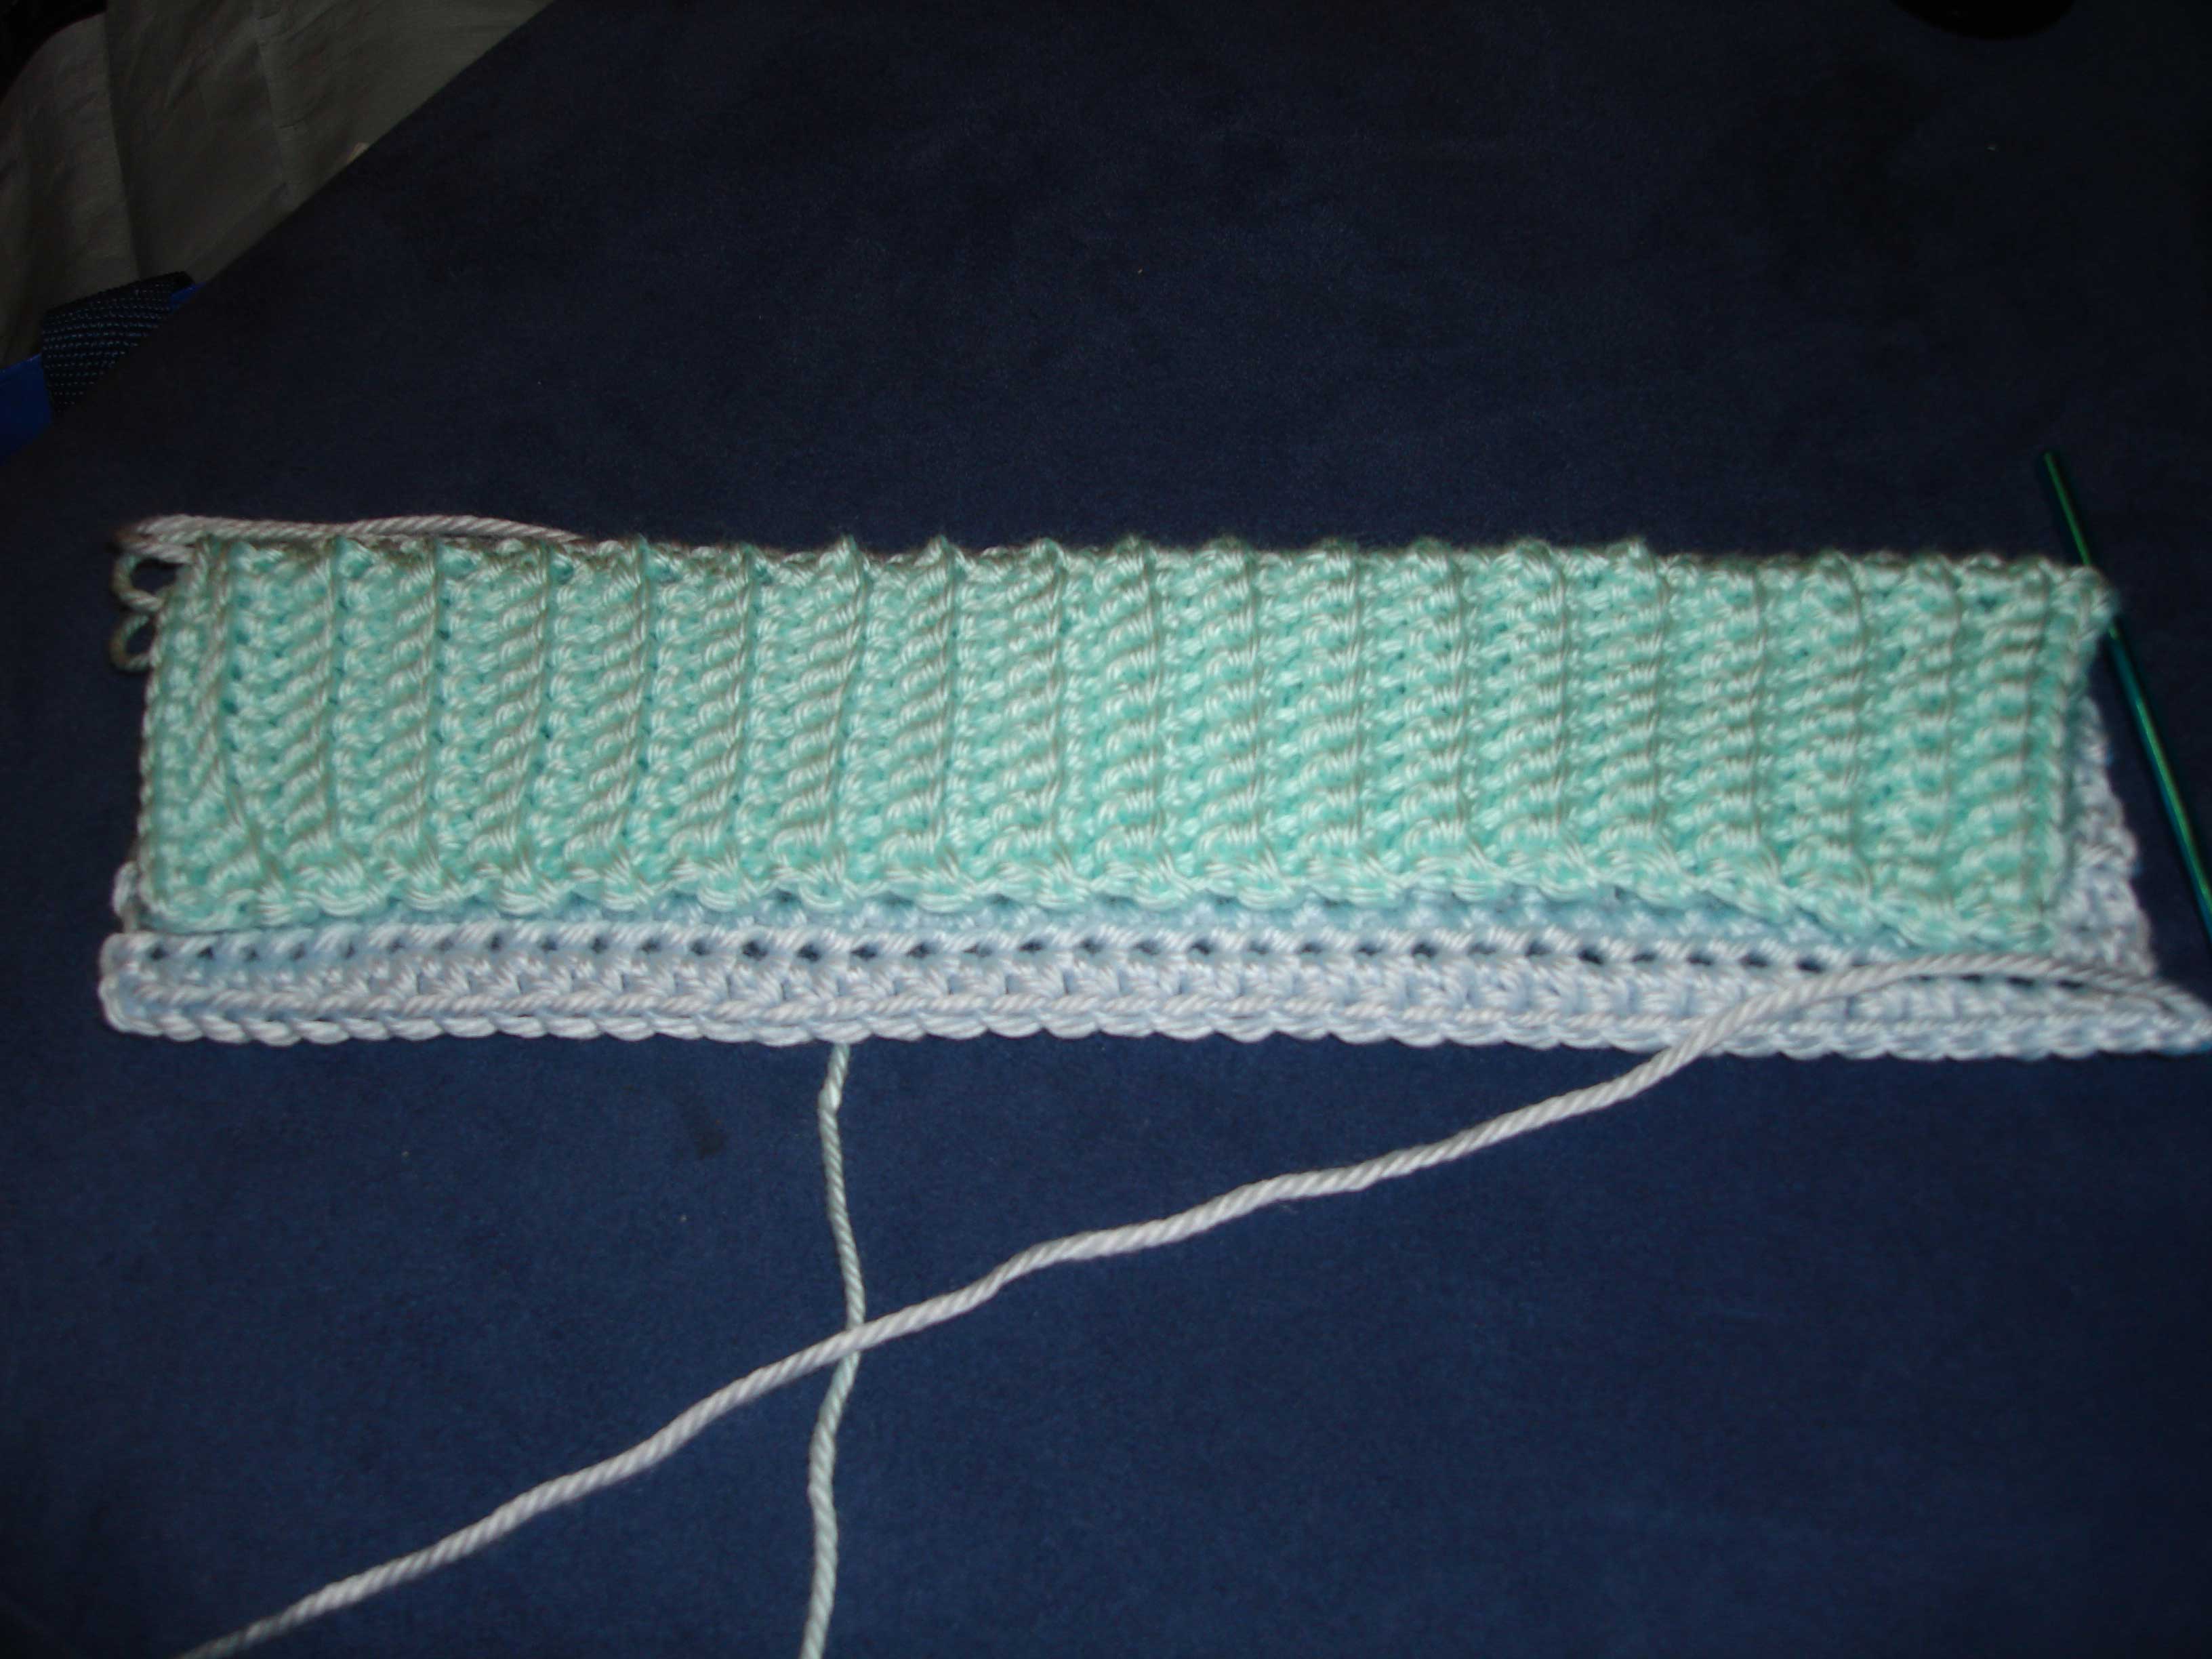
This is the brim of the hat, done using the back loop single crochet.

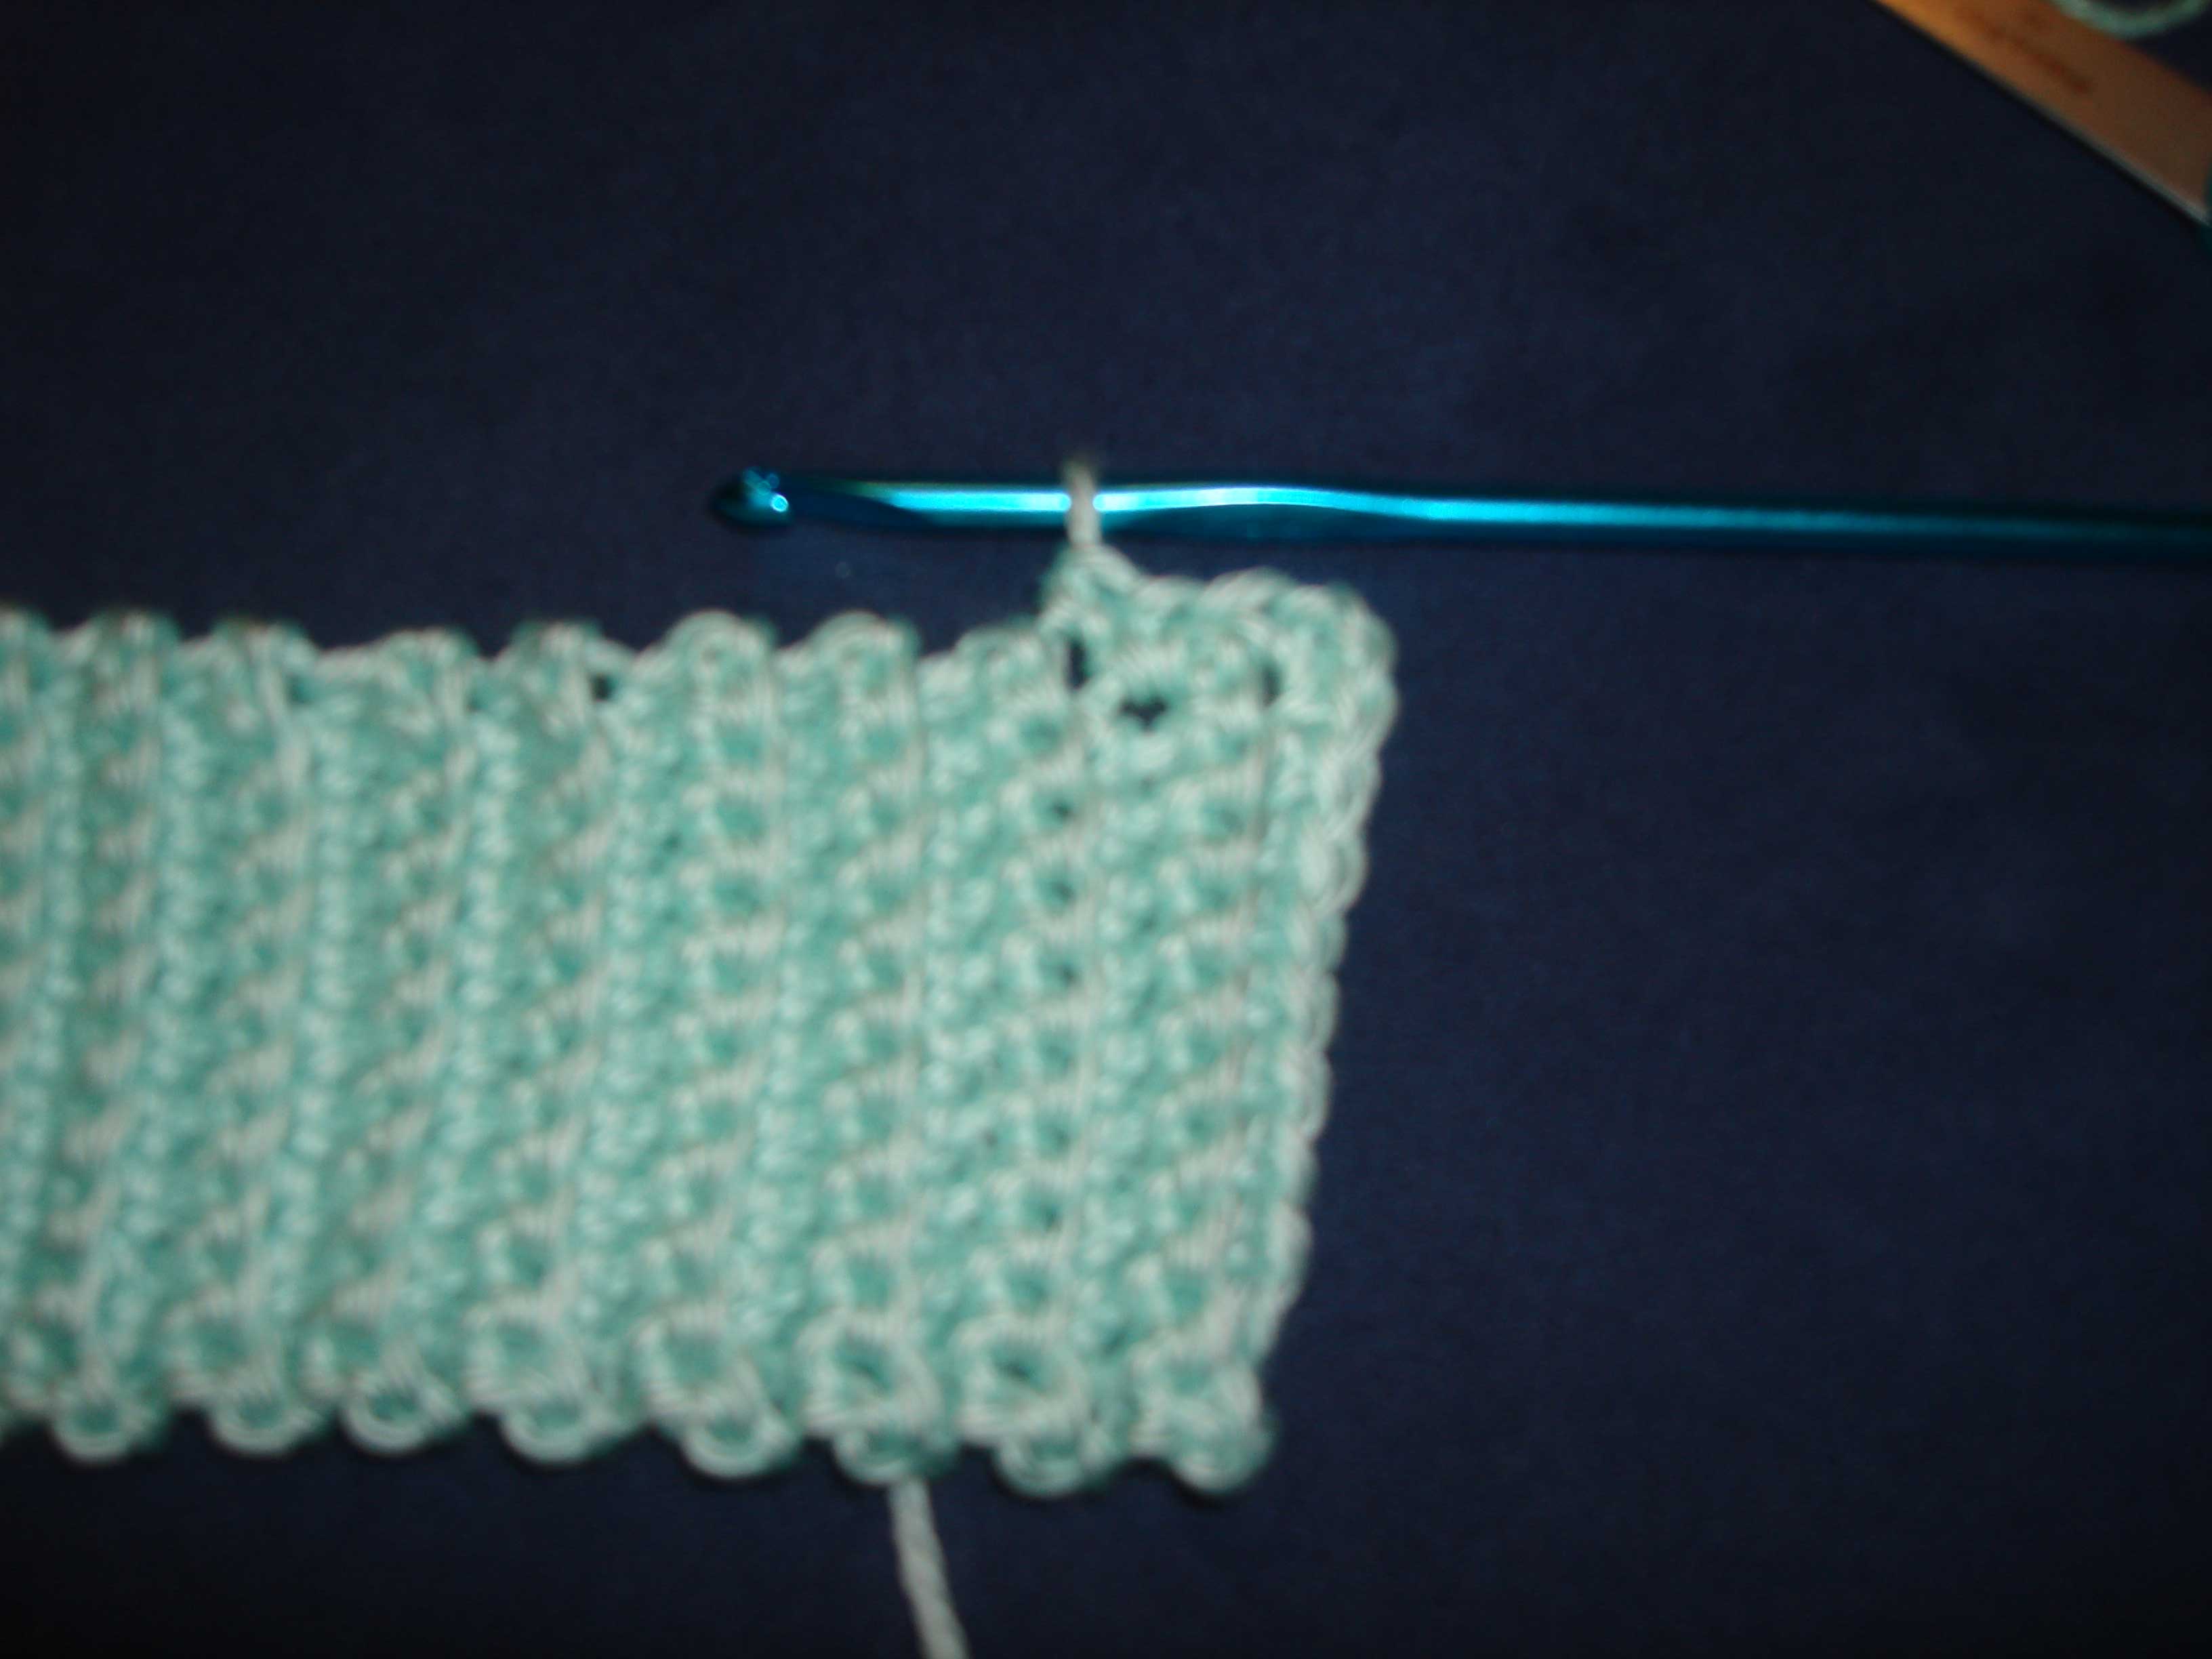
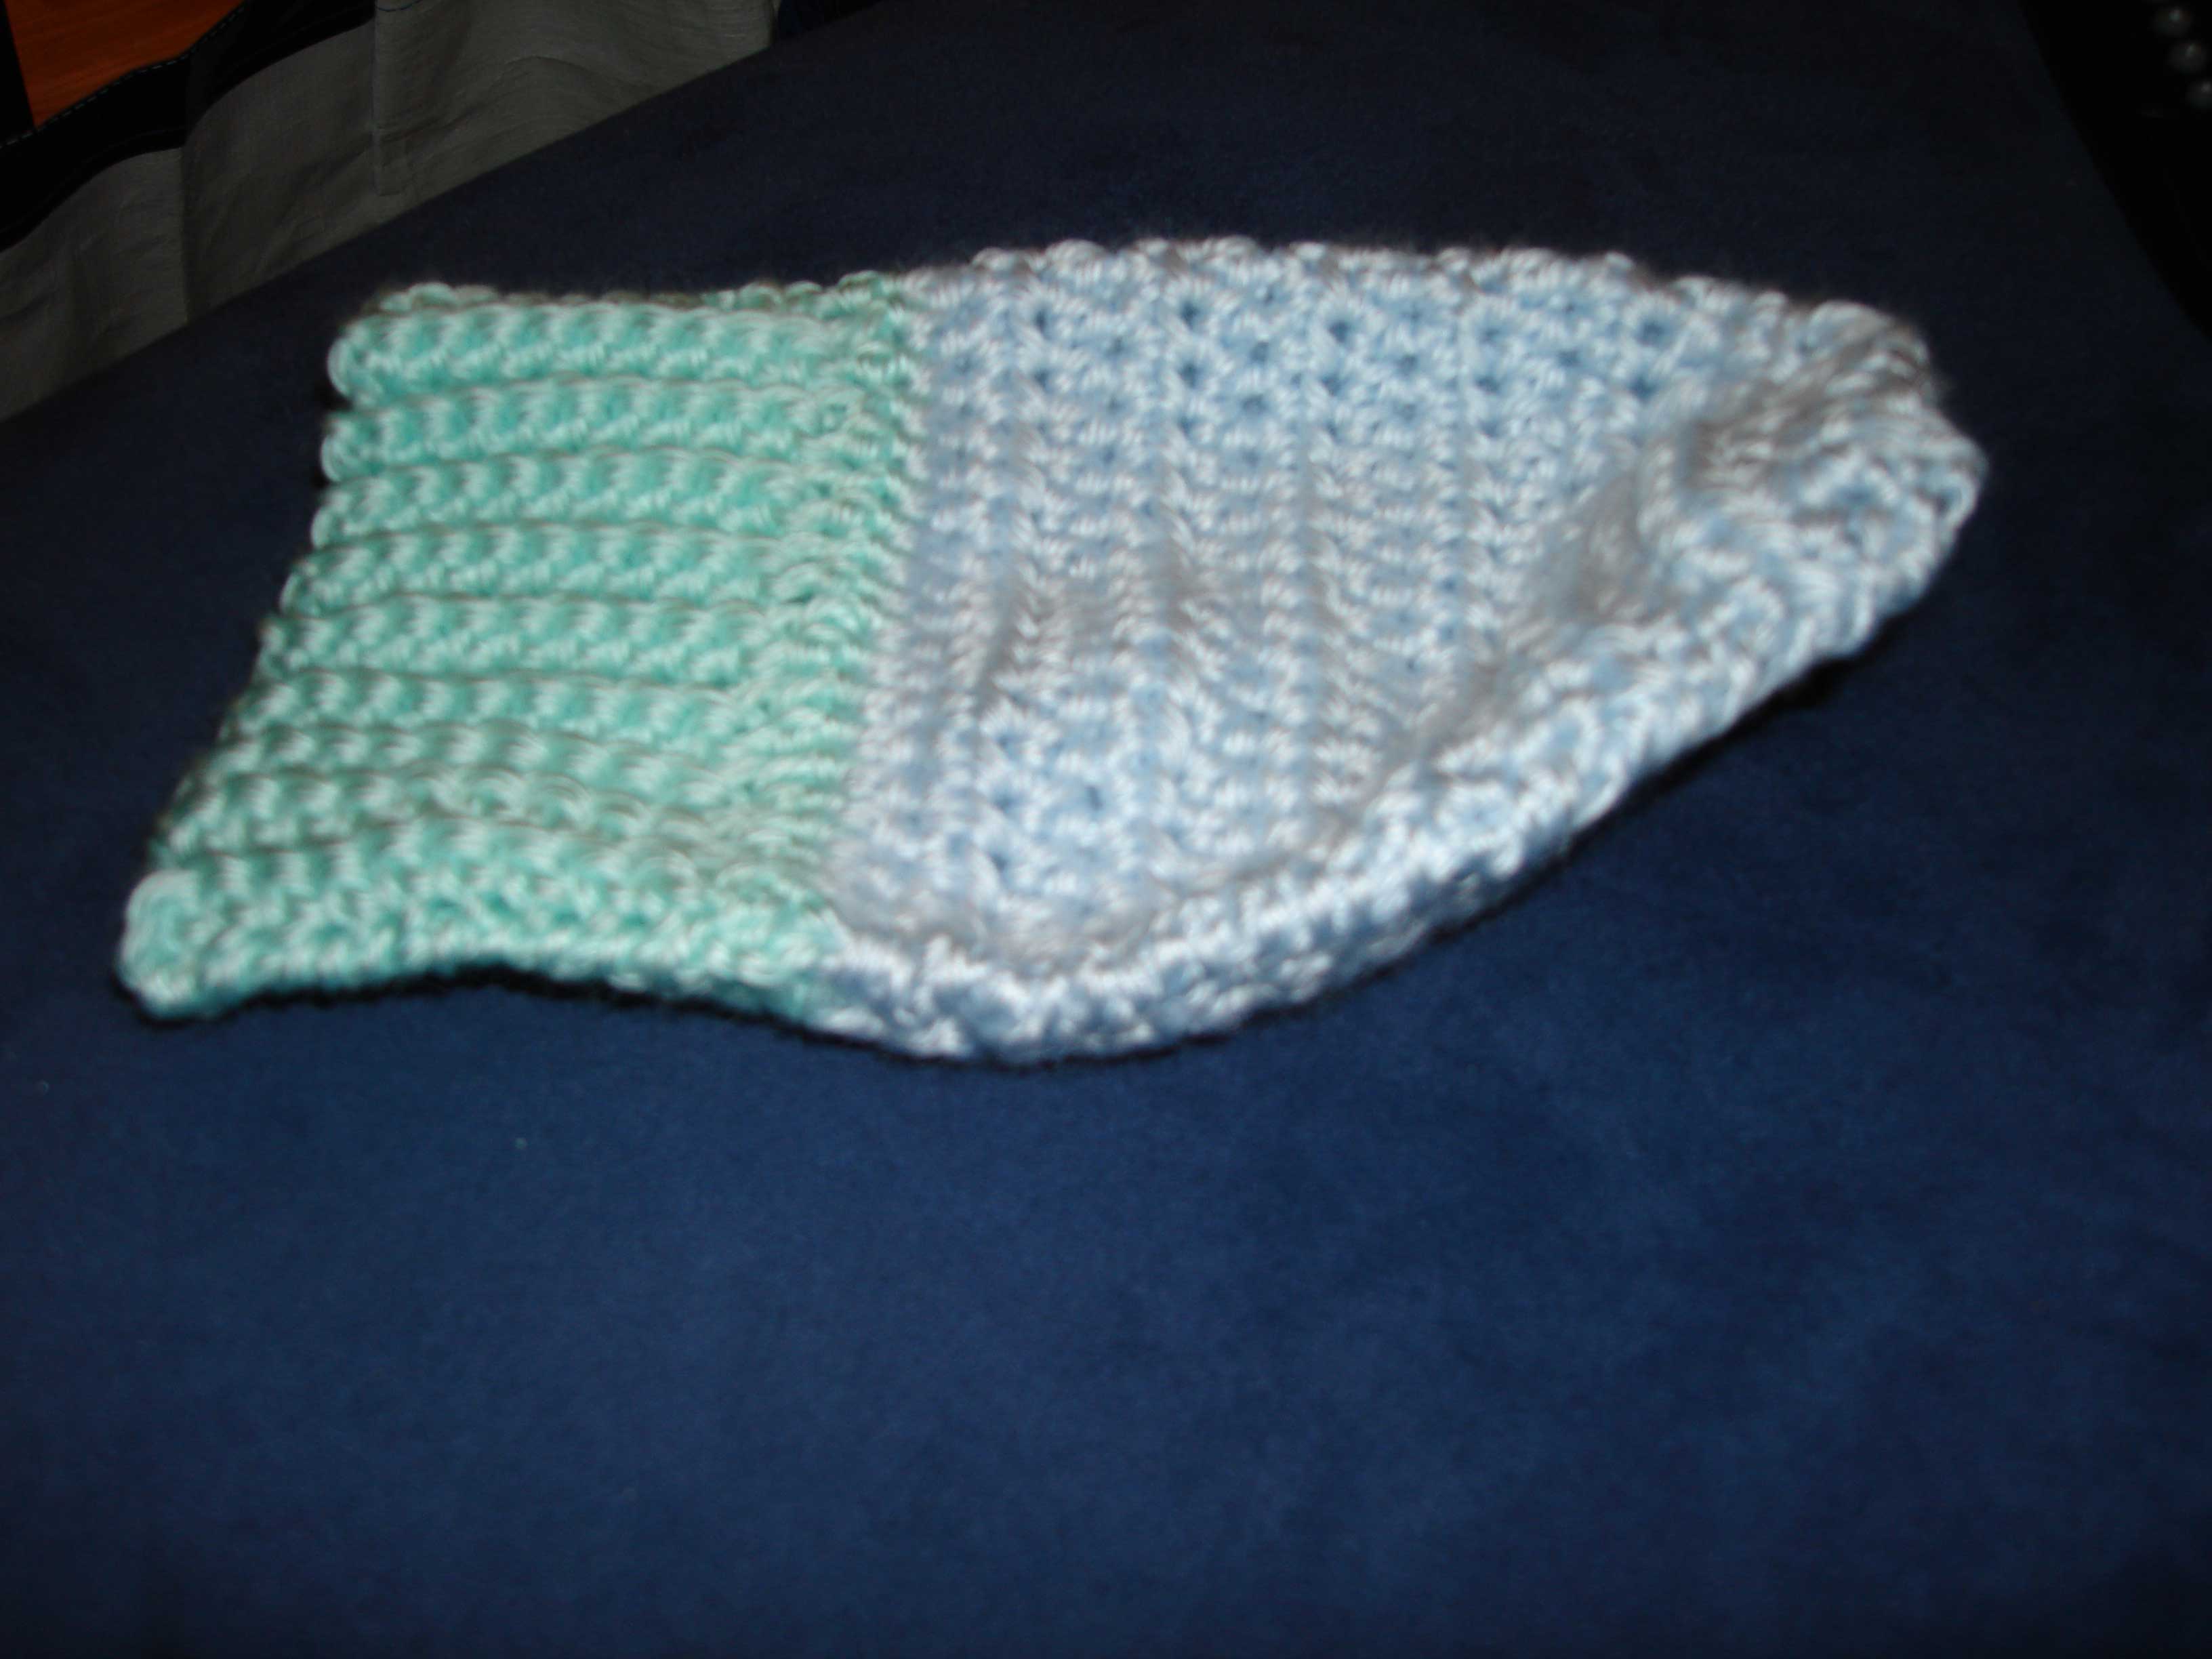
Checking the size of the hat, by folding the brim in half
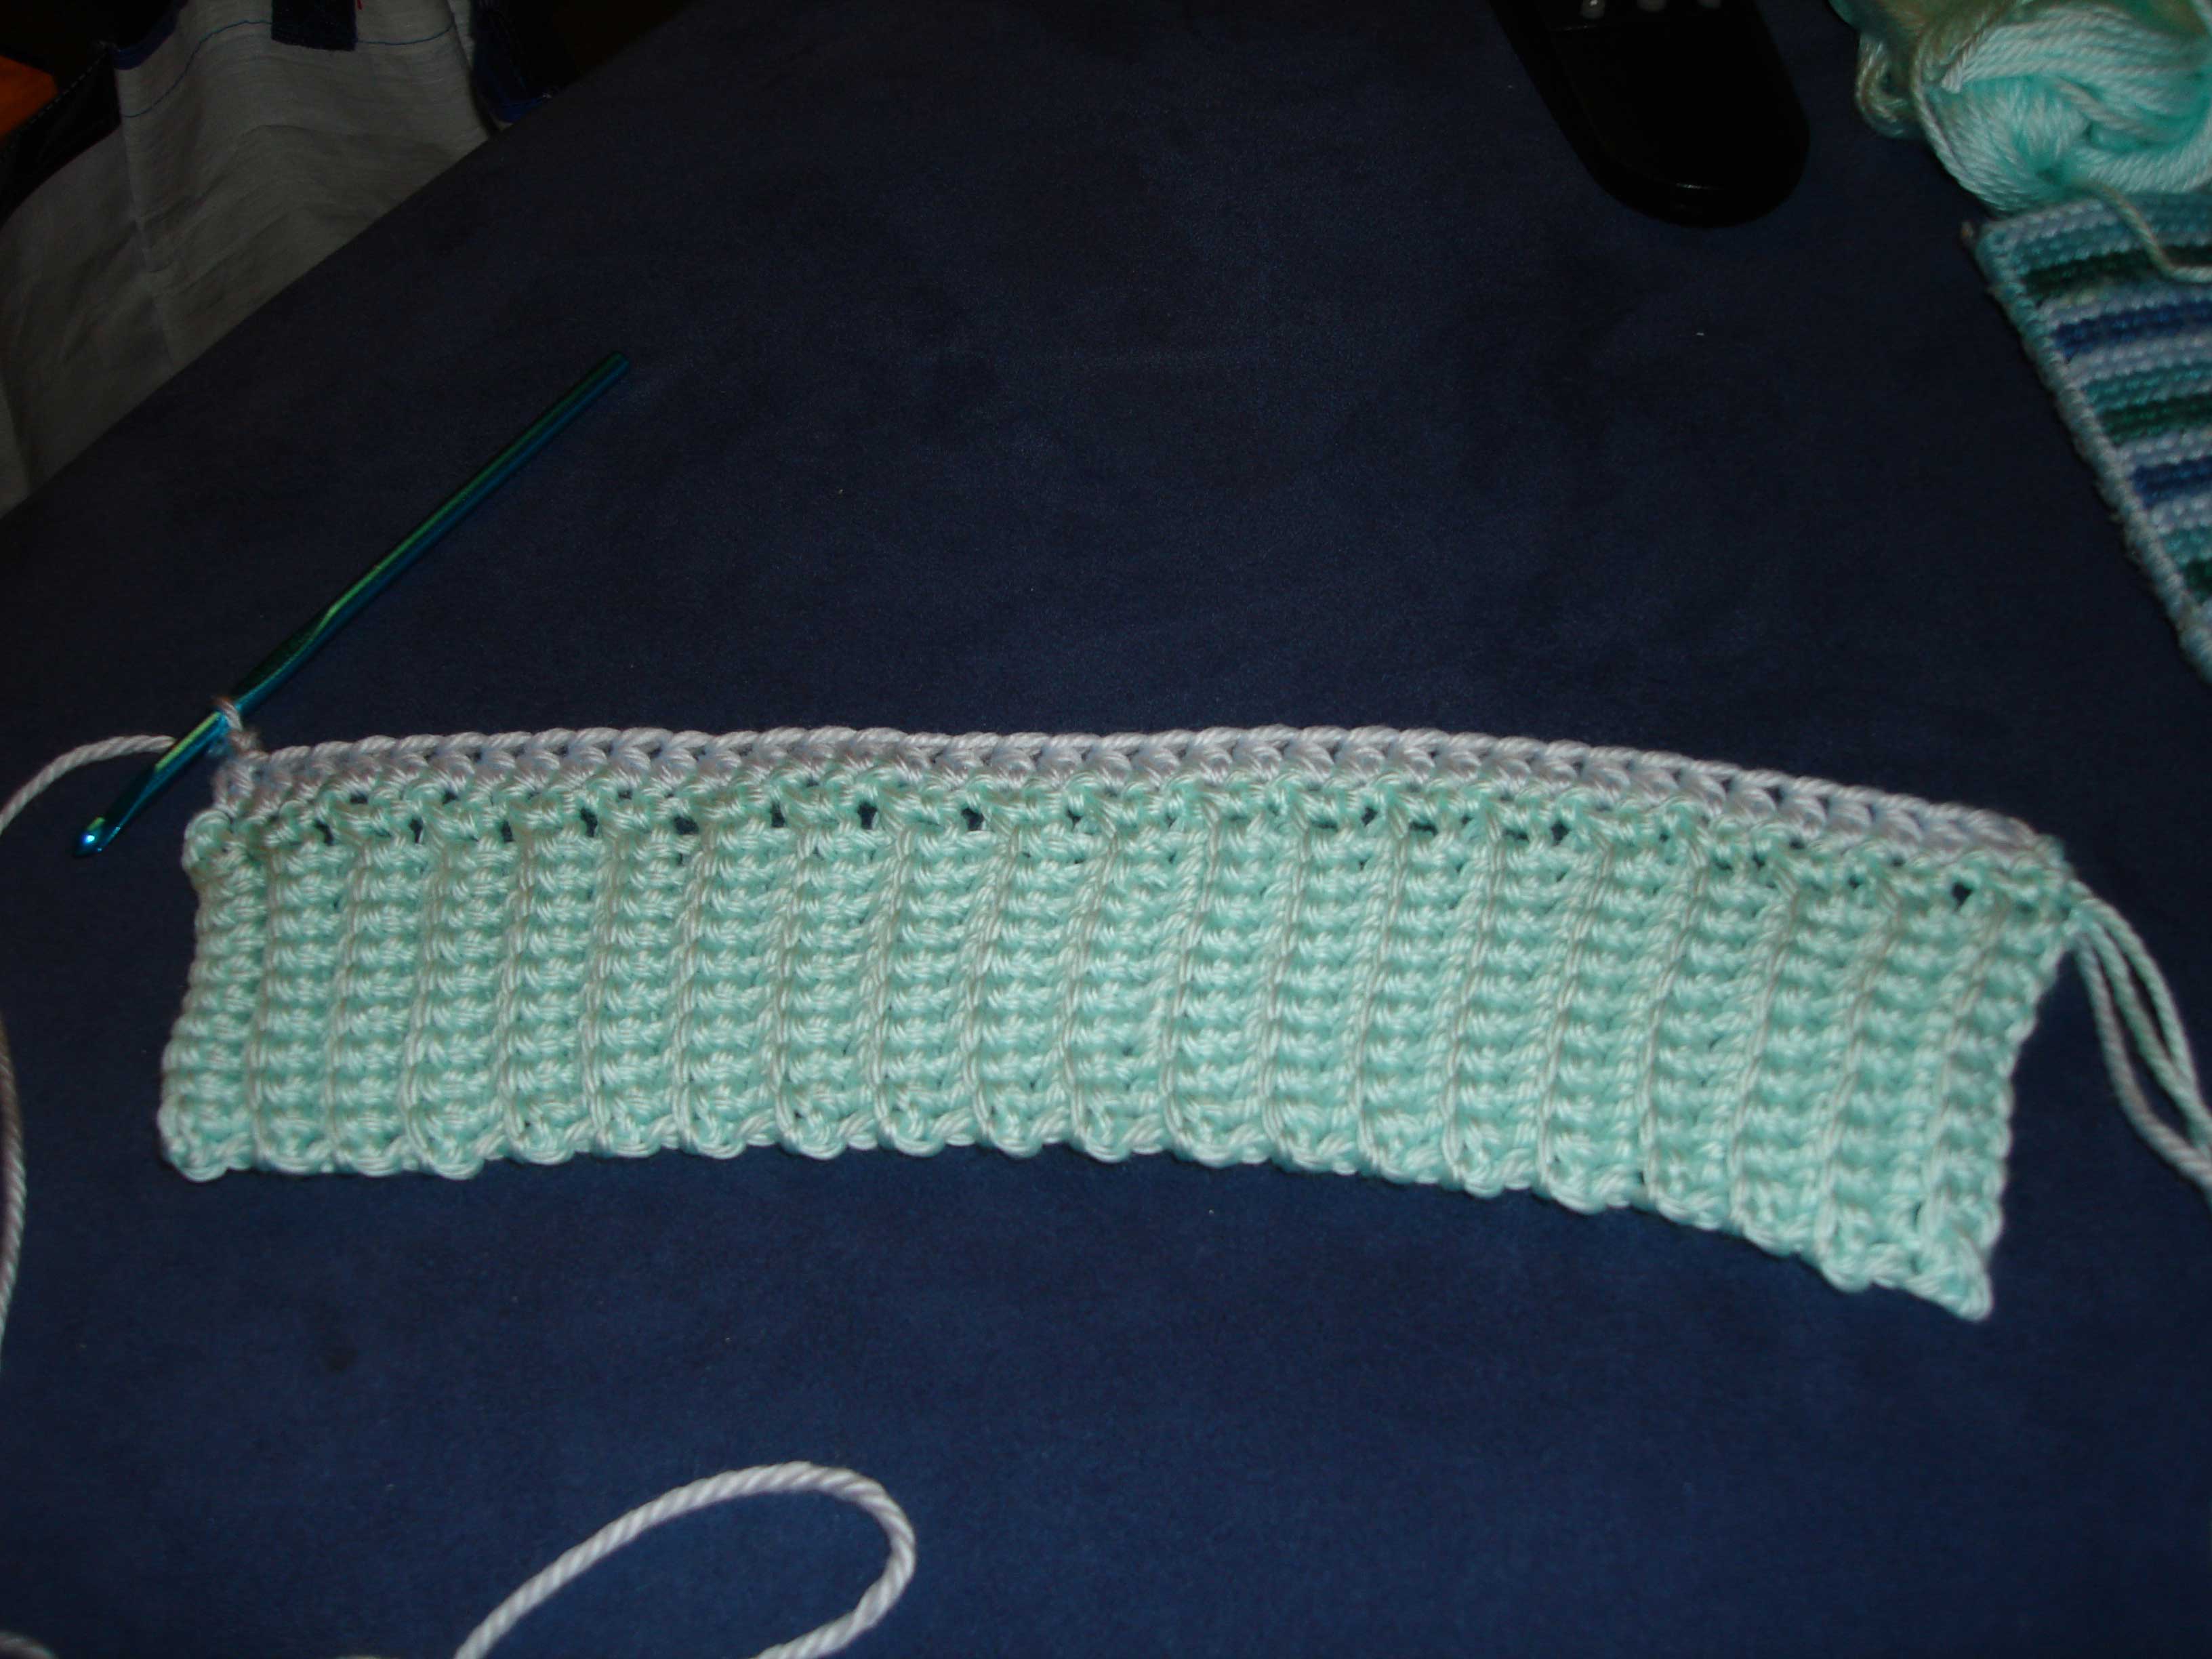
Adding the first row of the body of the hat to the side of the brim
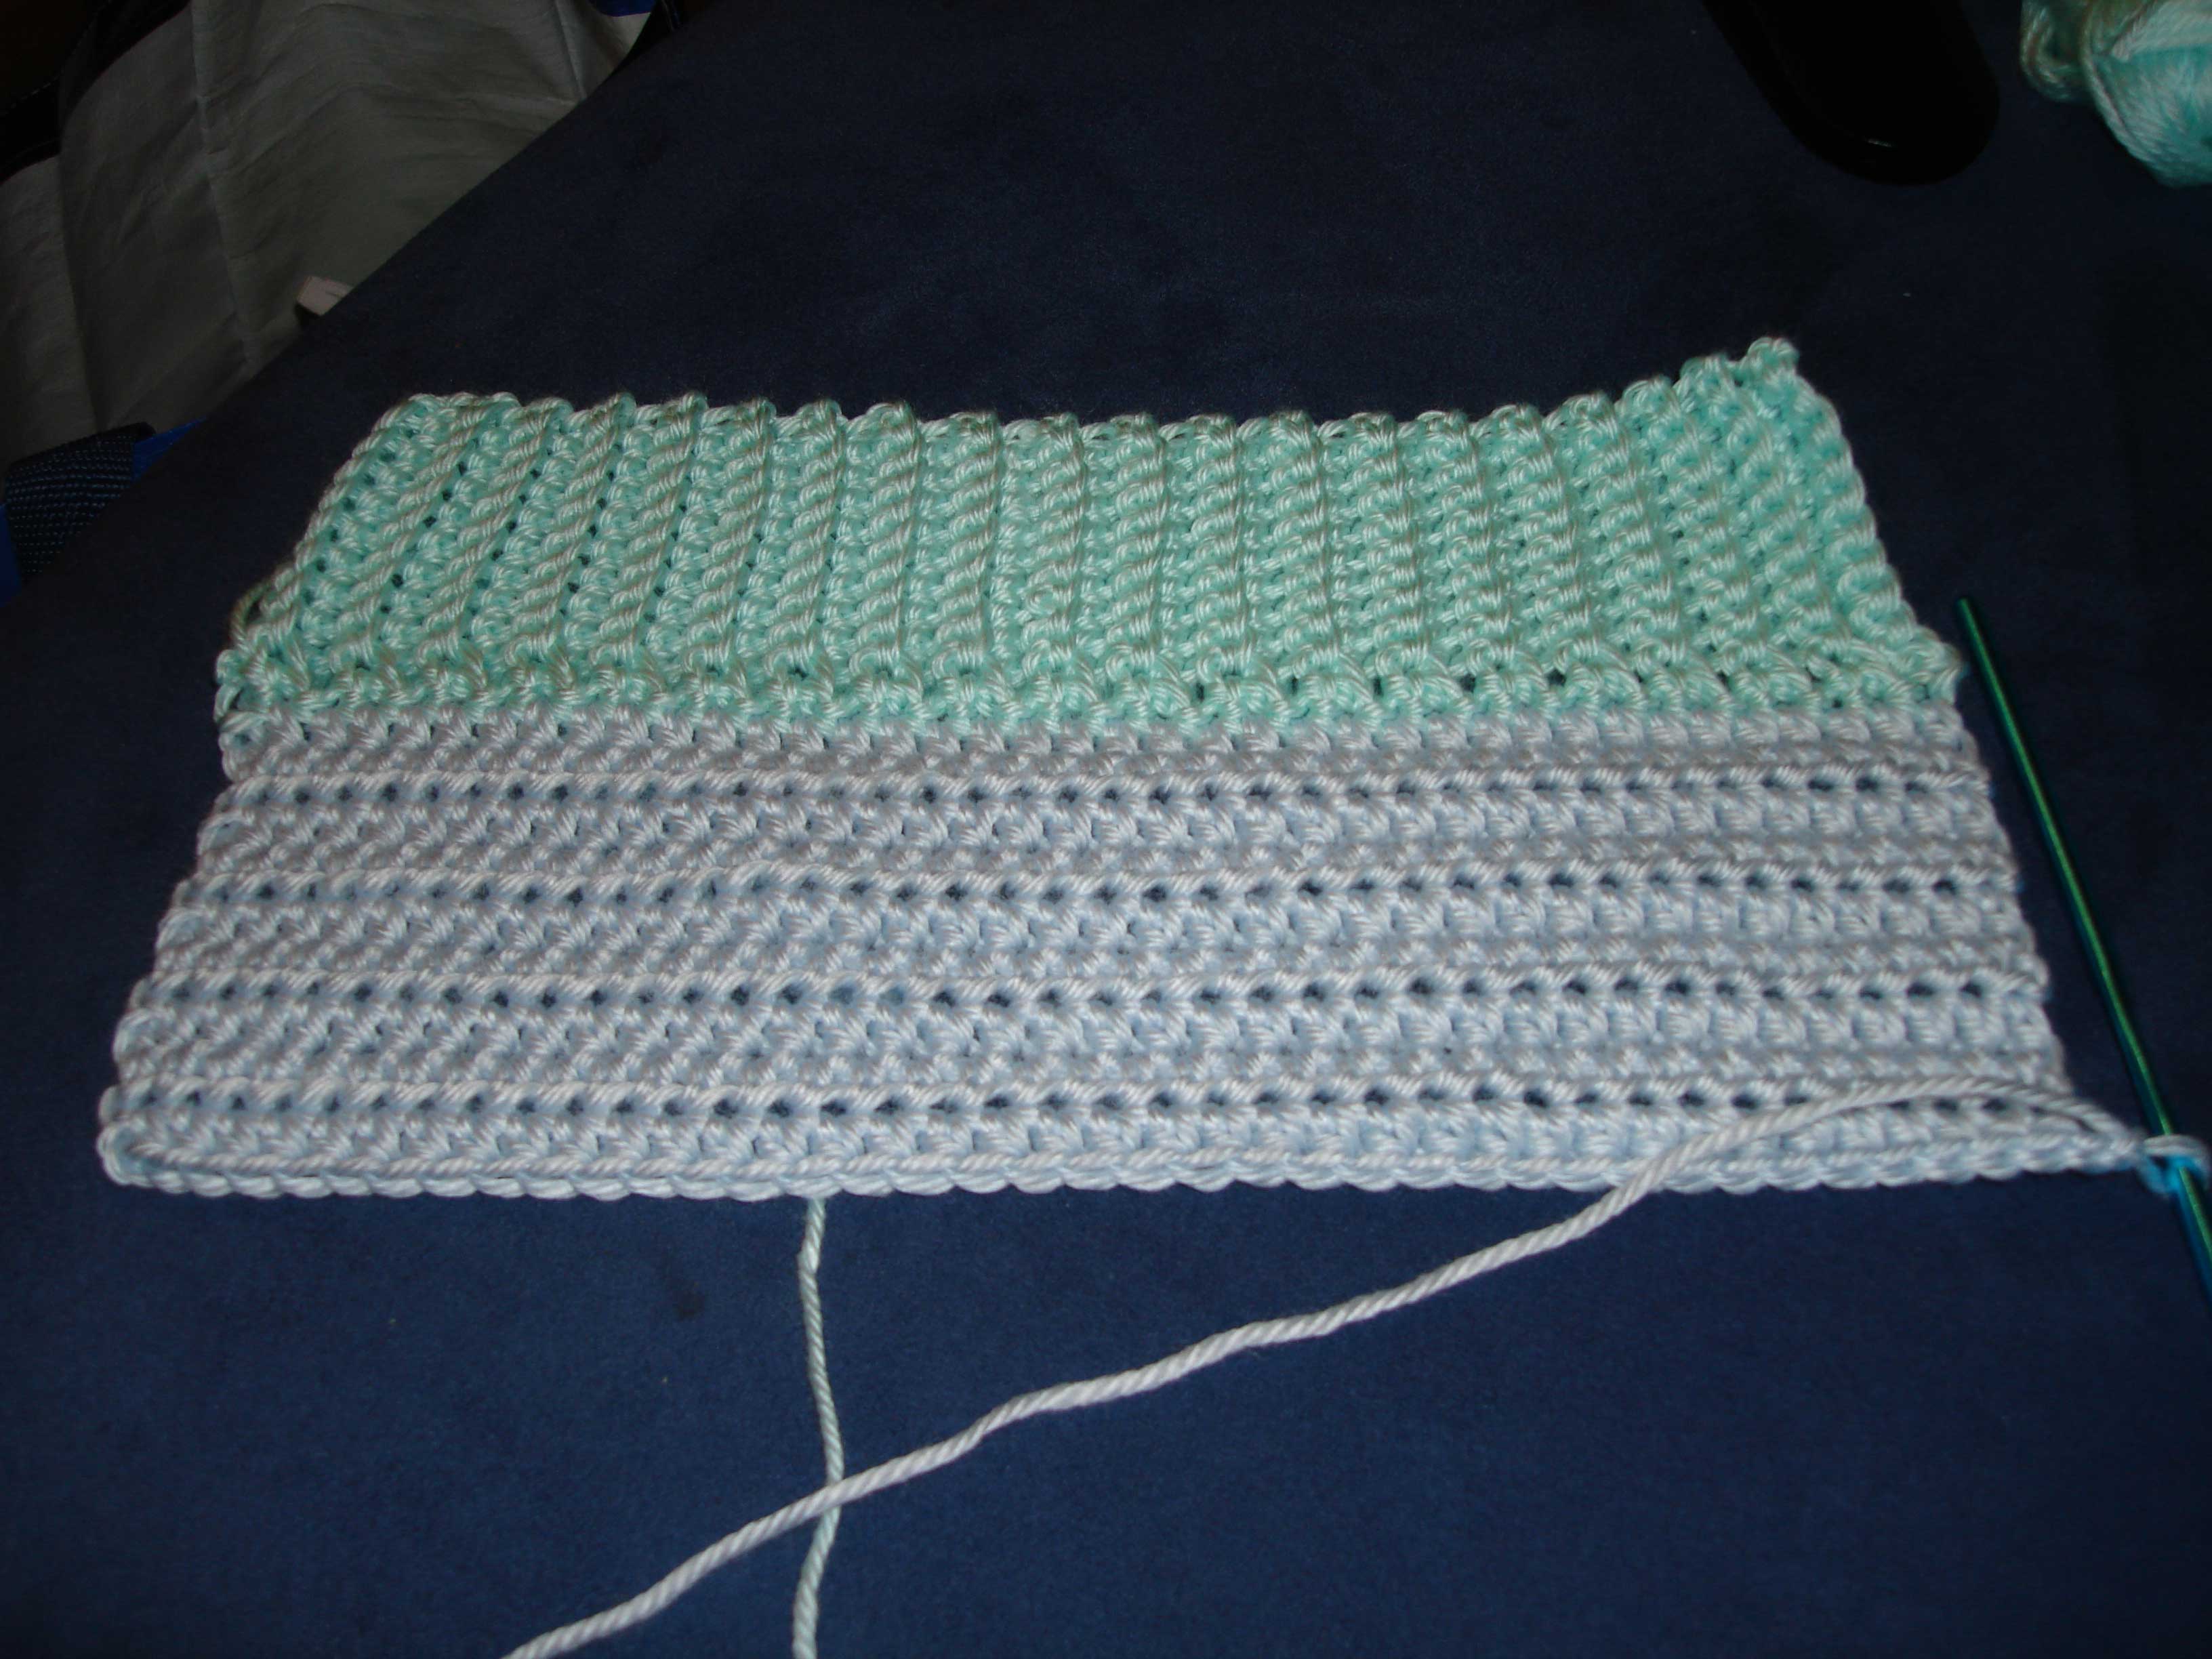
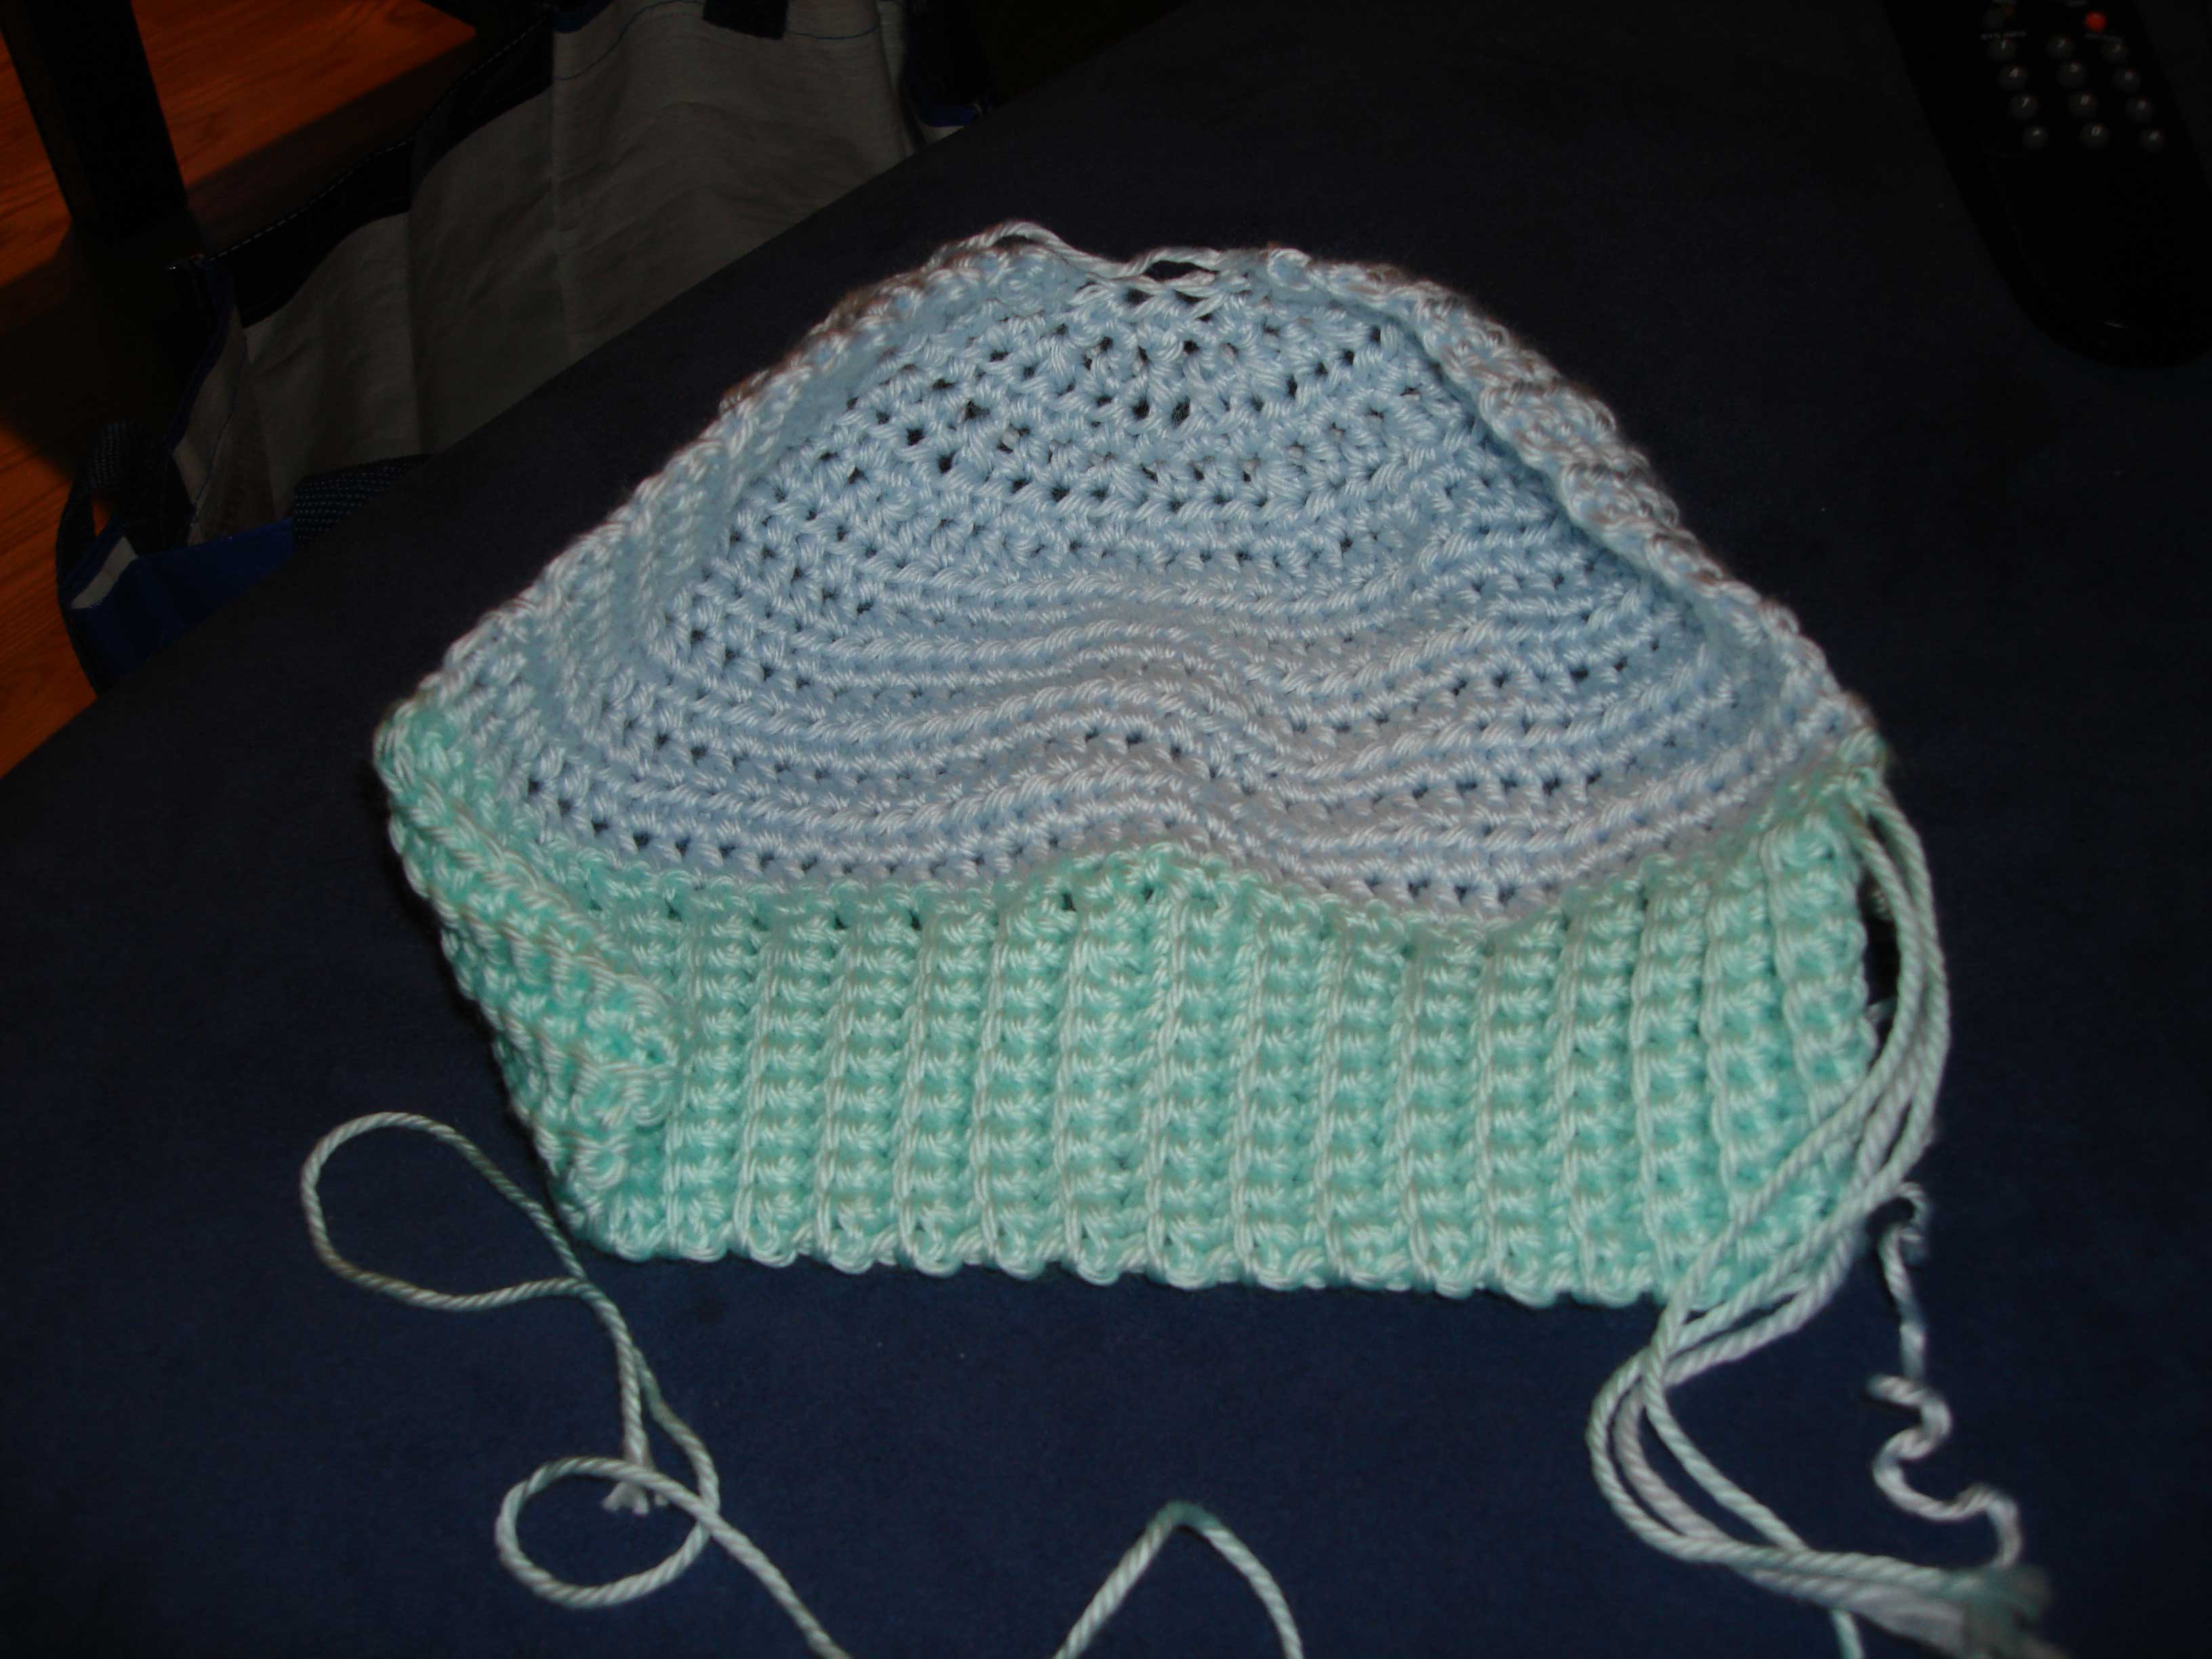
I have now switched colours and am working on the top section of the hat
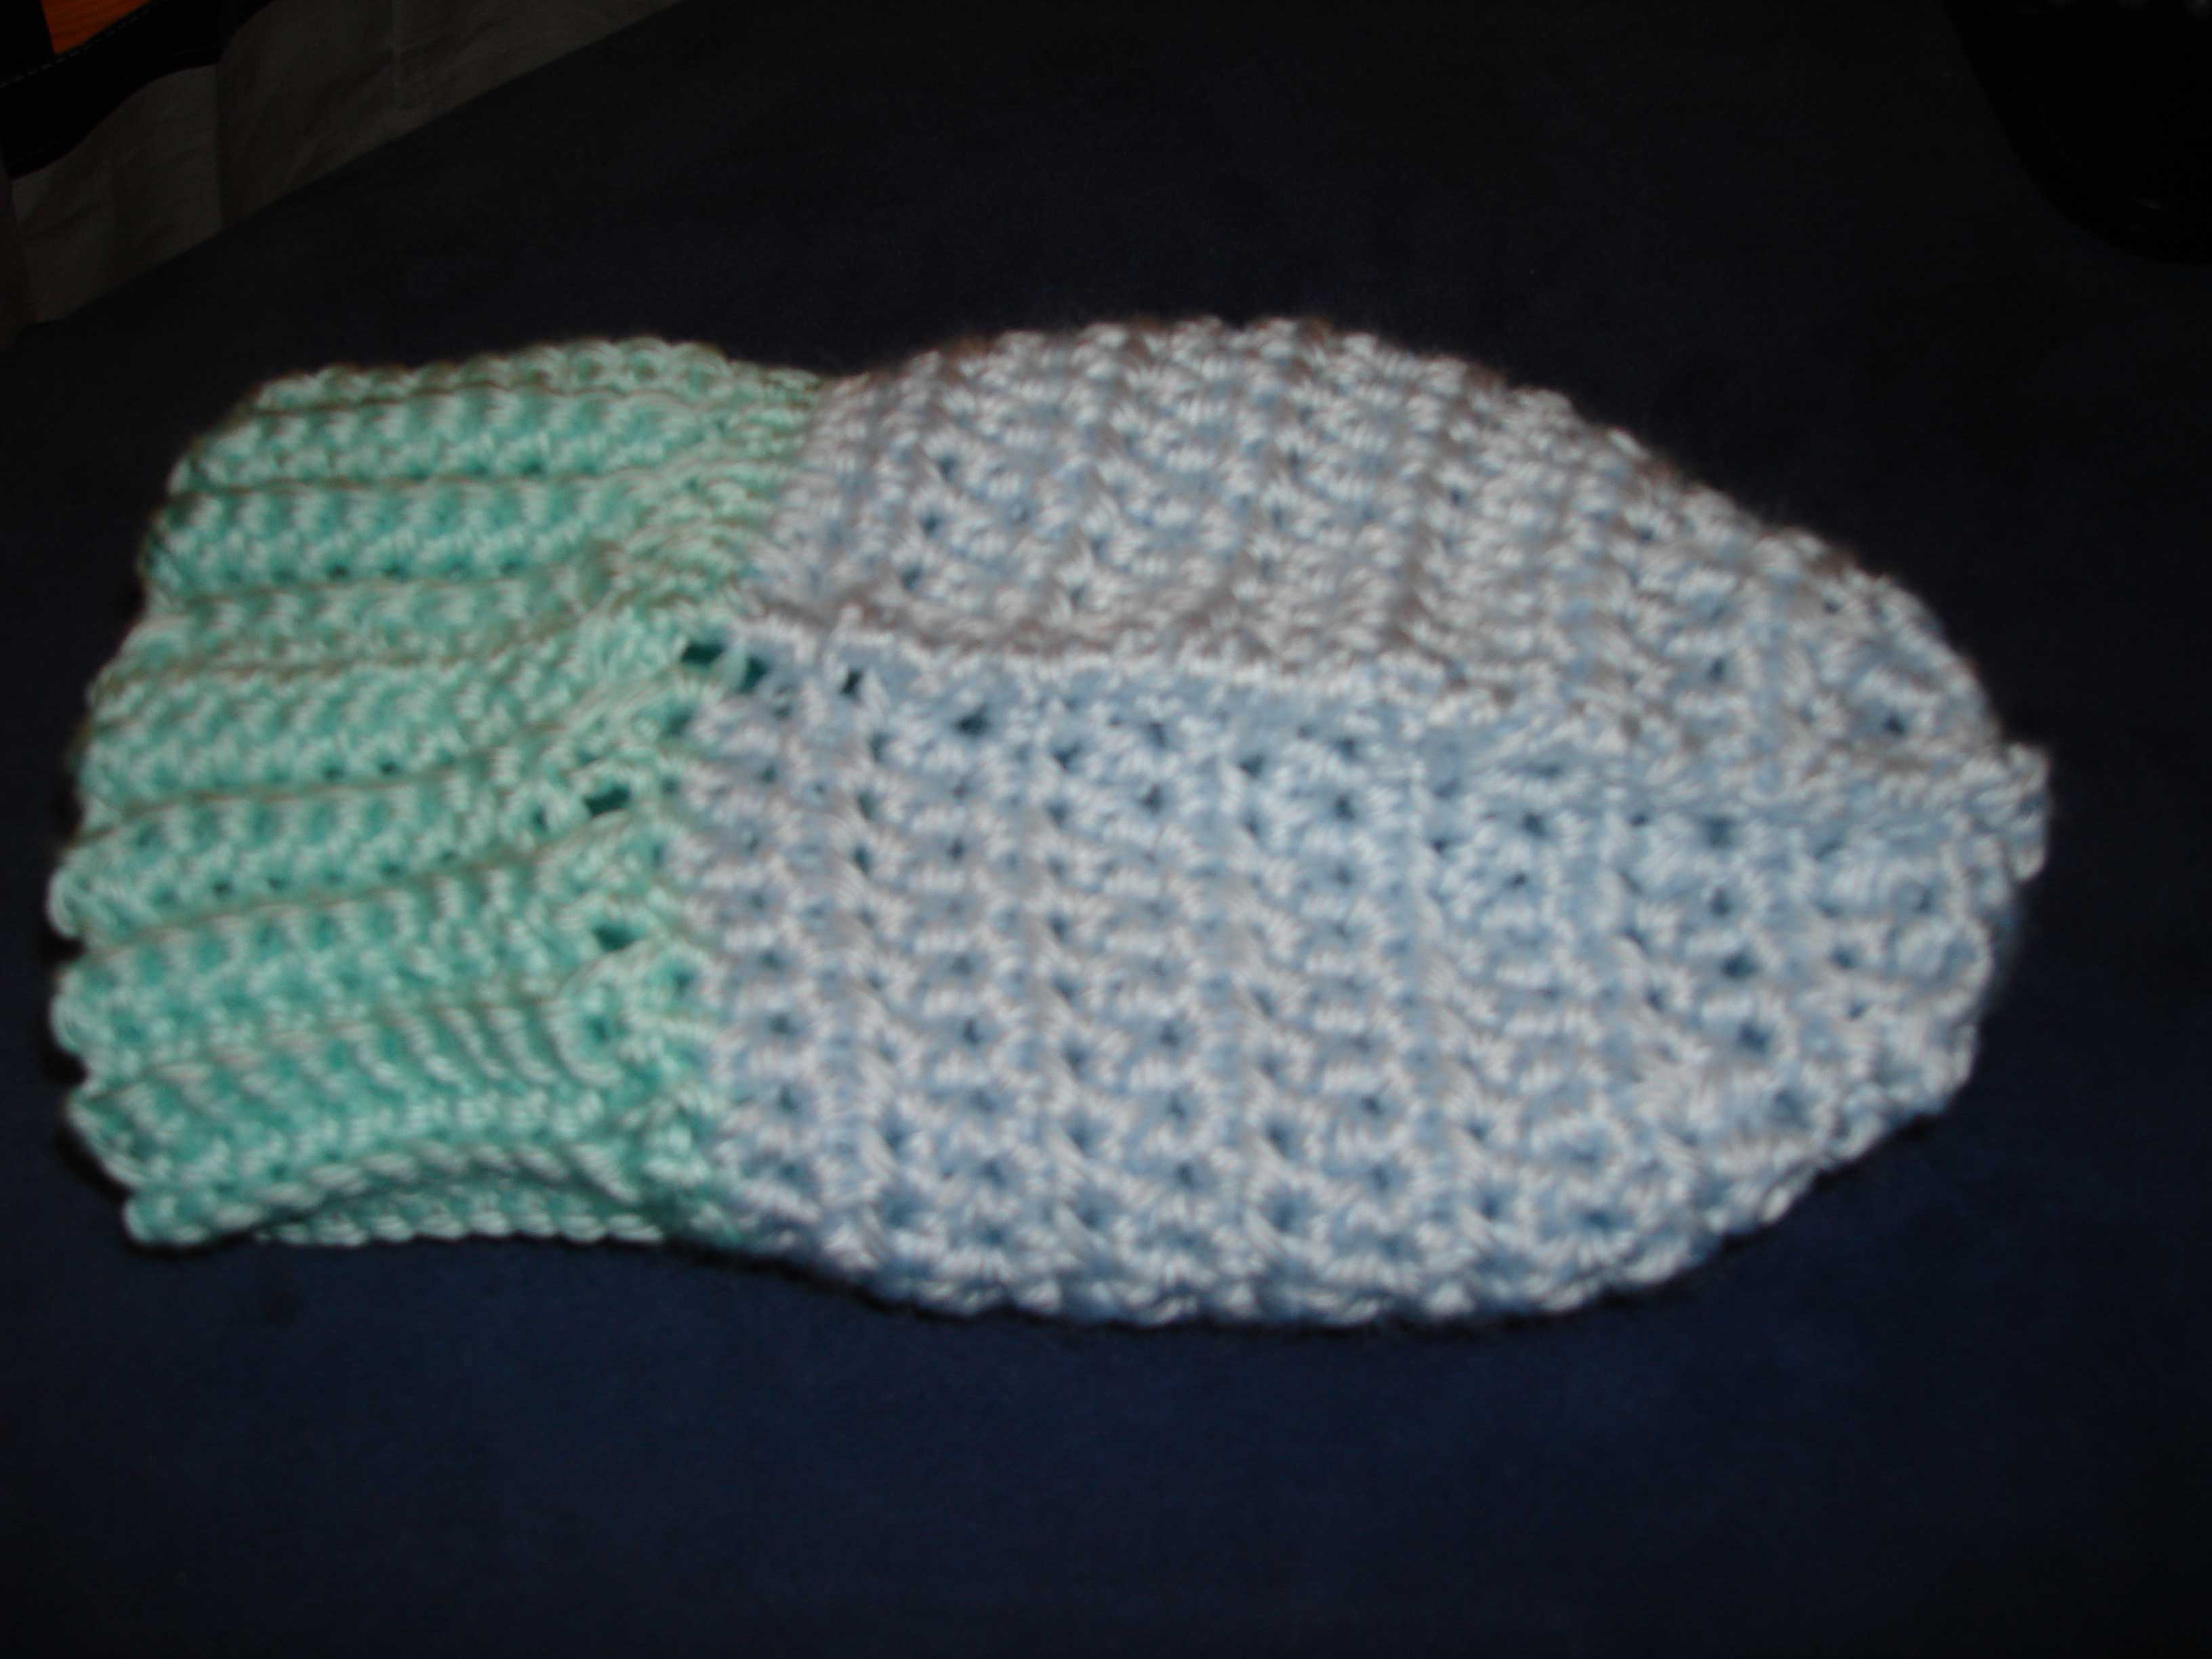
This is the first section of the top of the hat (no decrease rows yet, which is why the work lays flat)
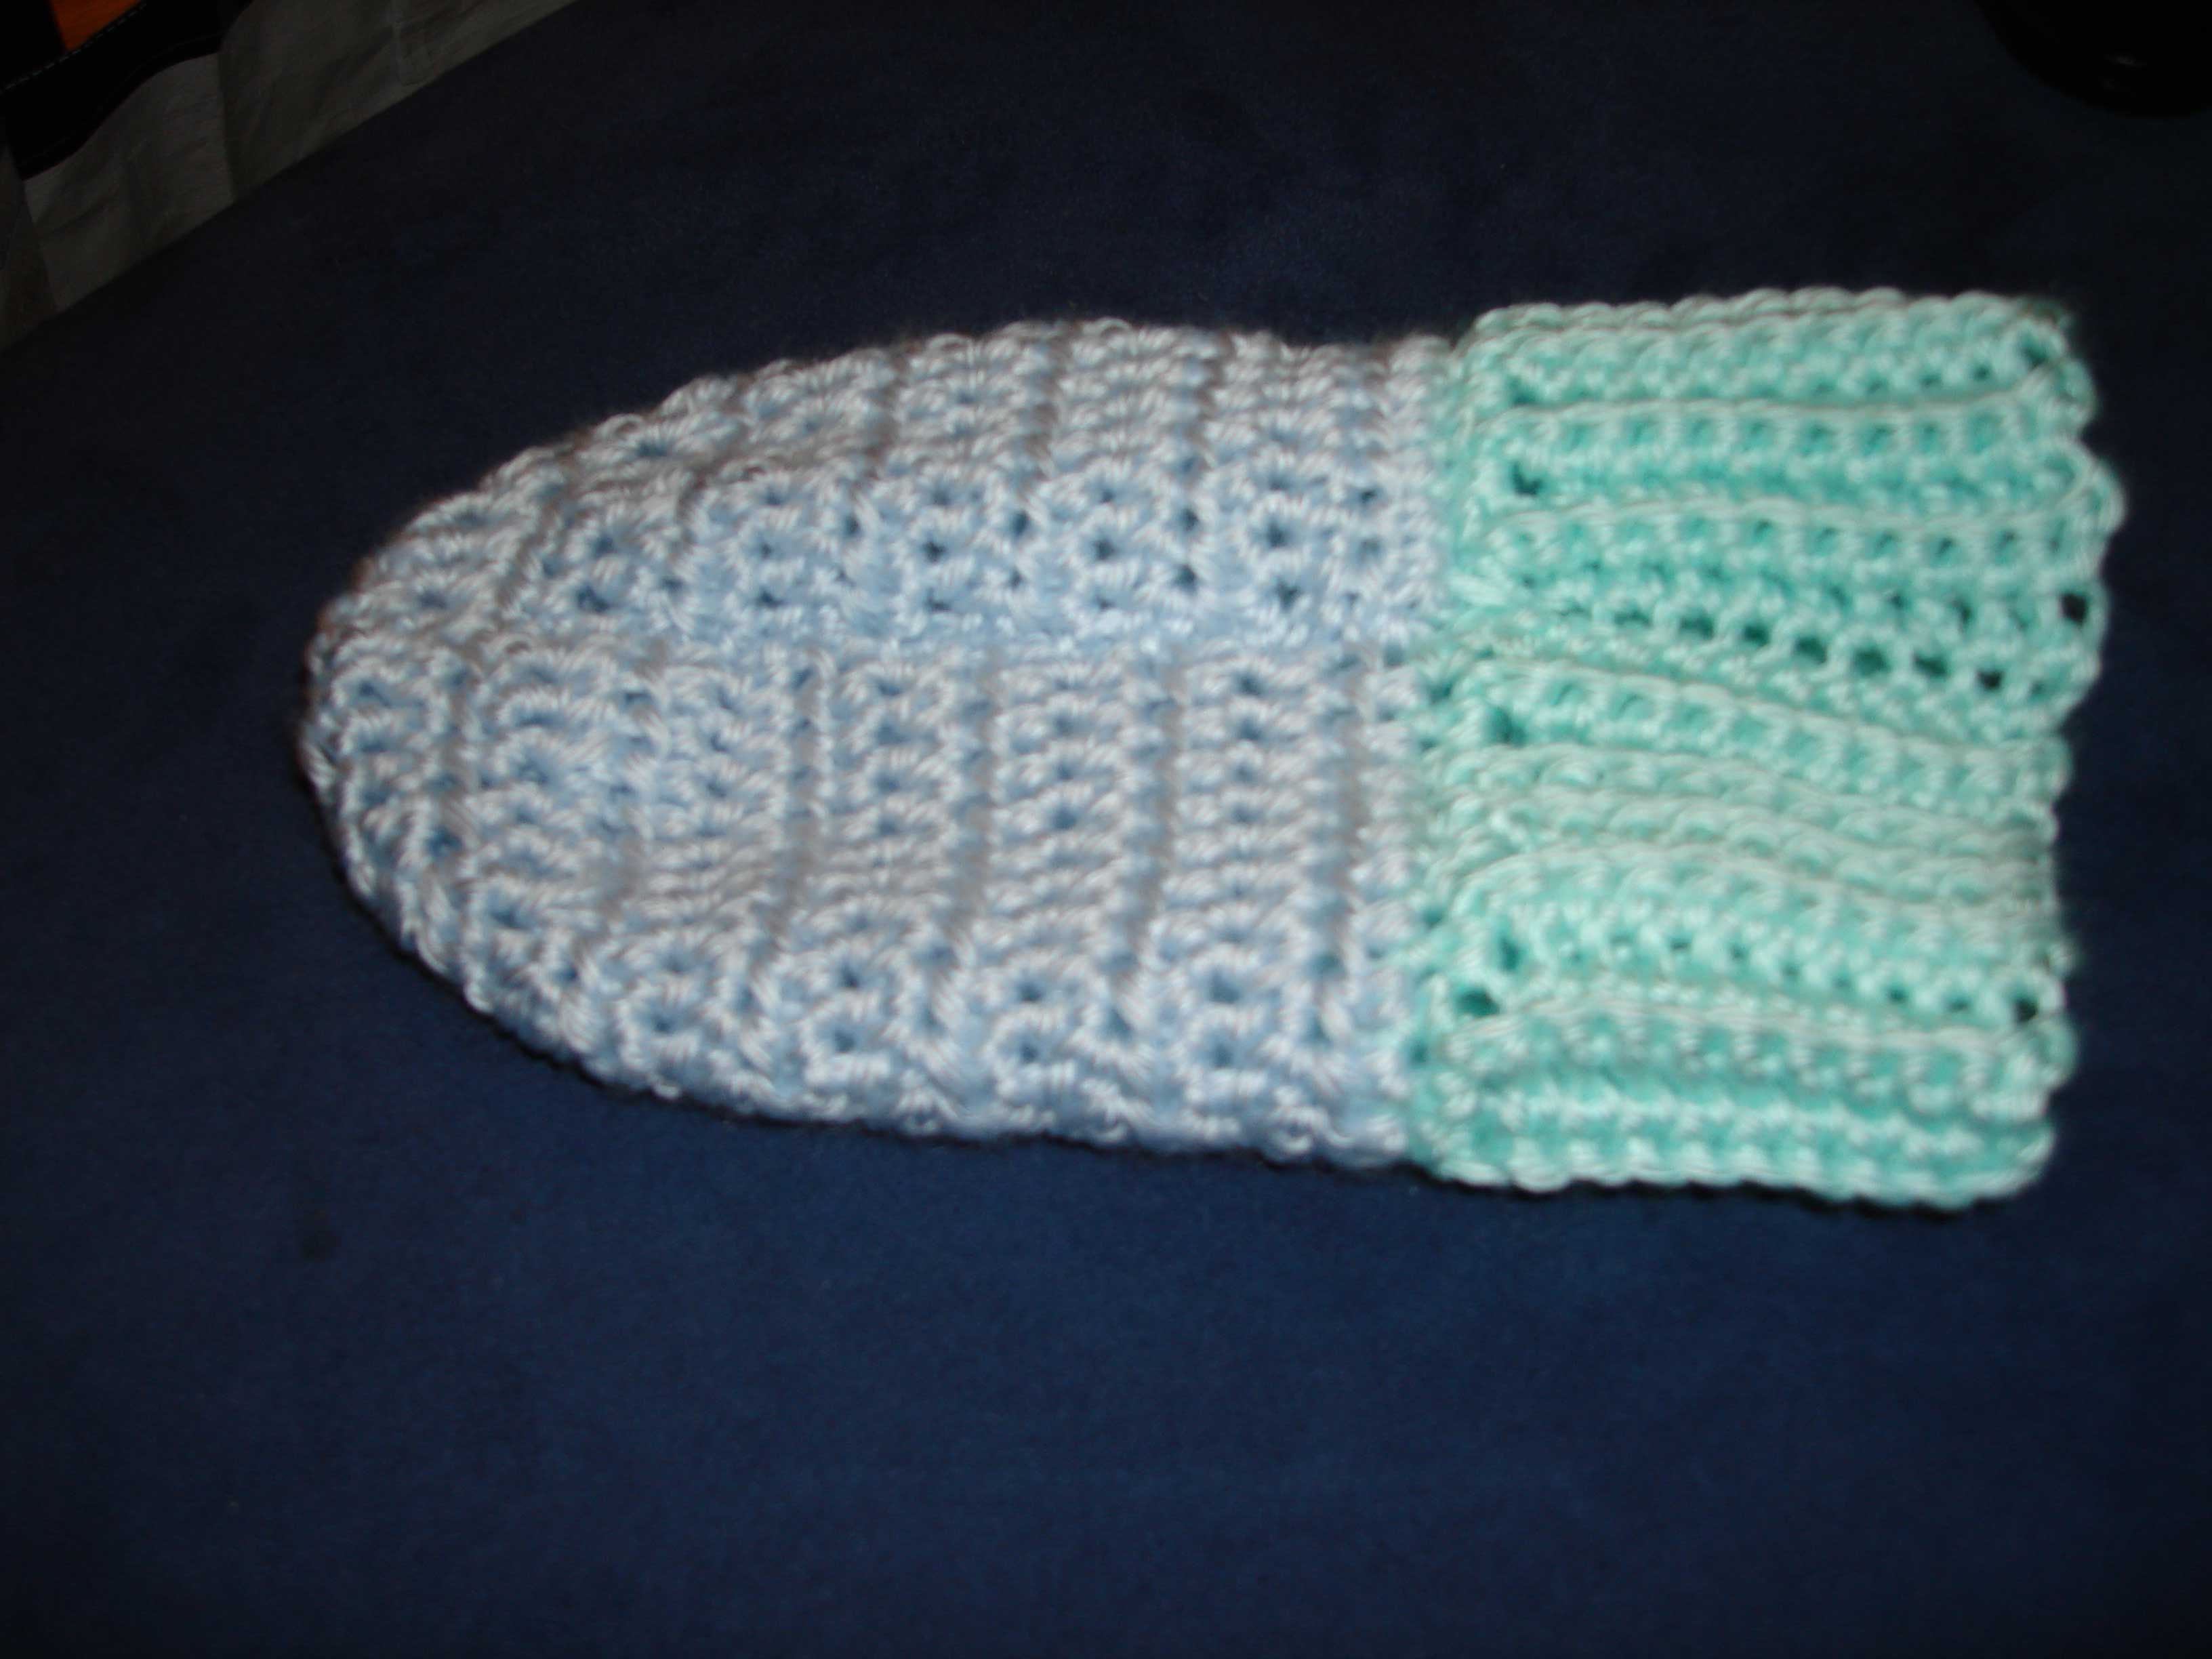
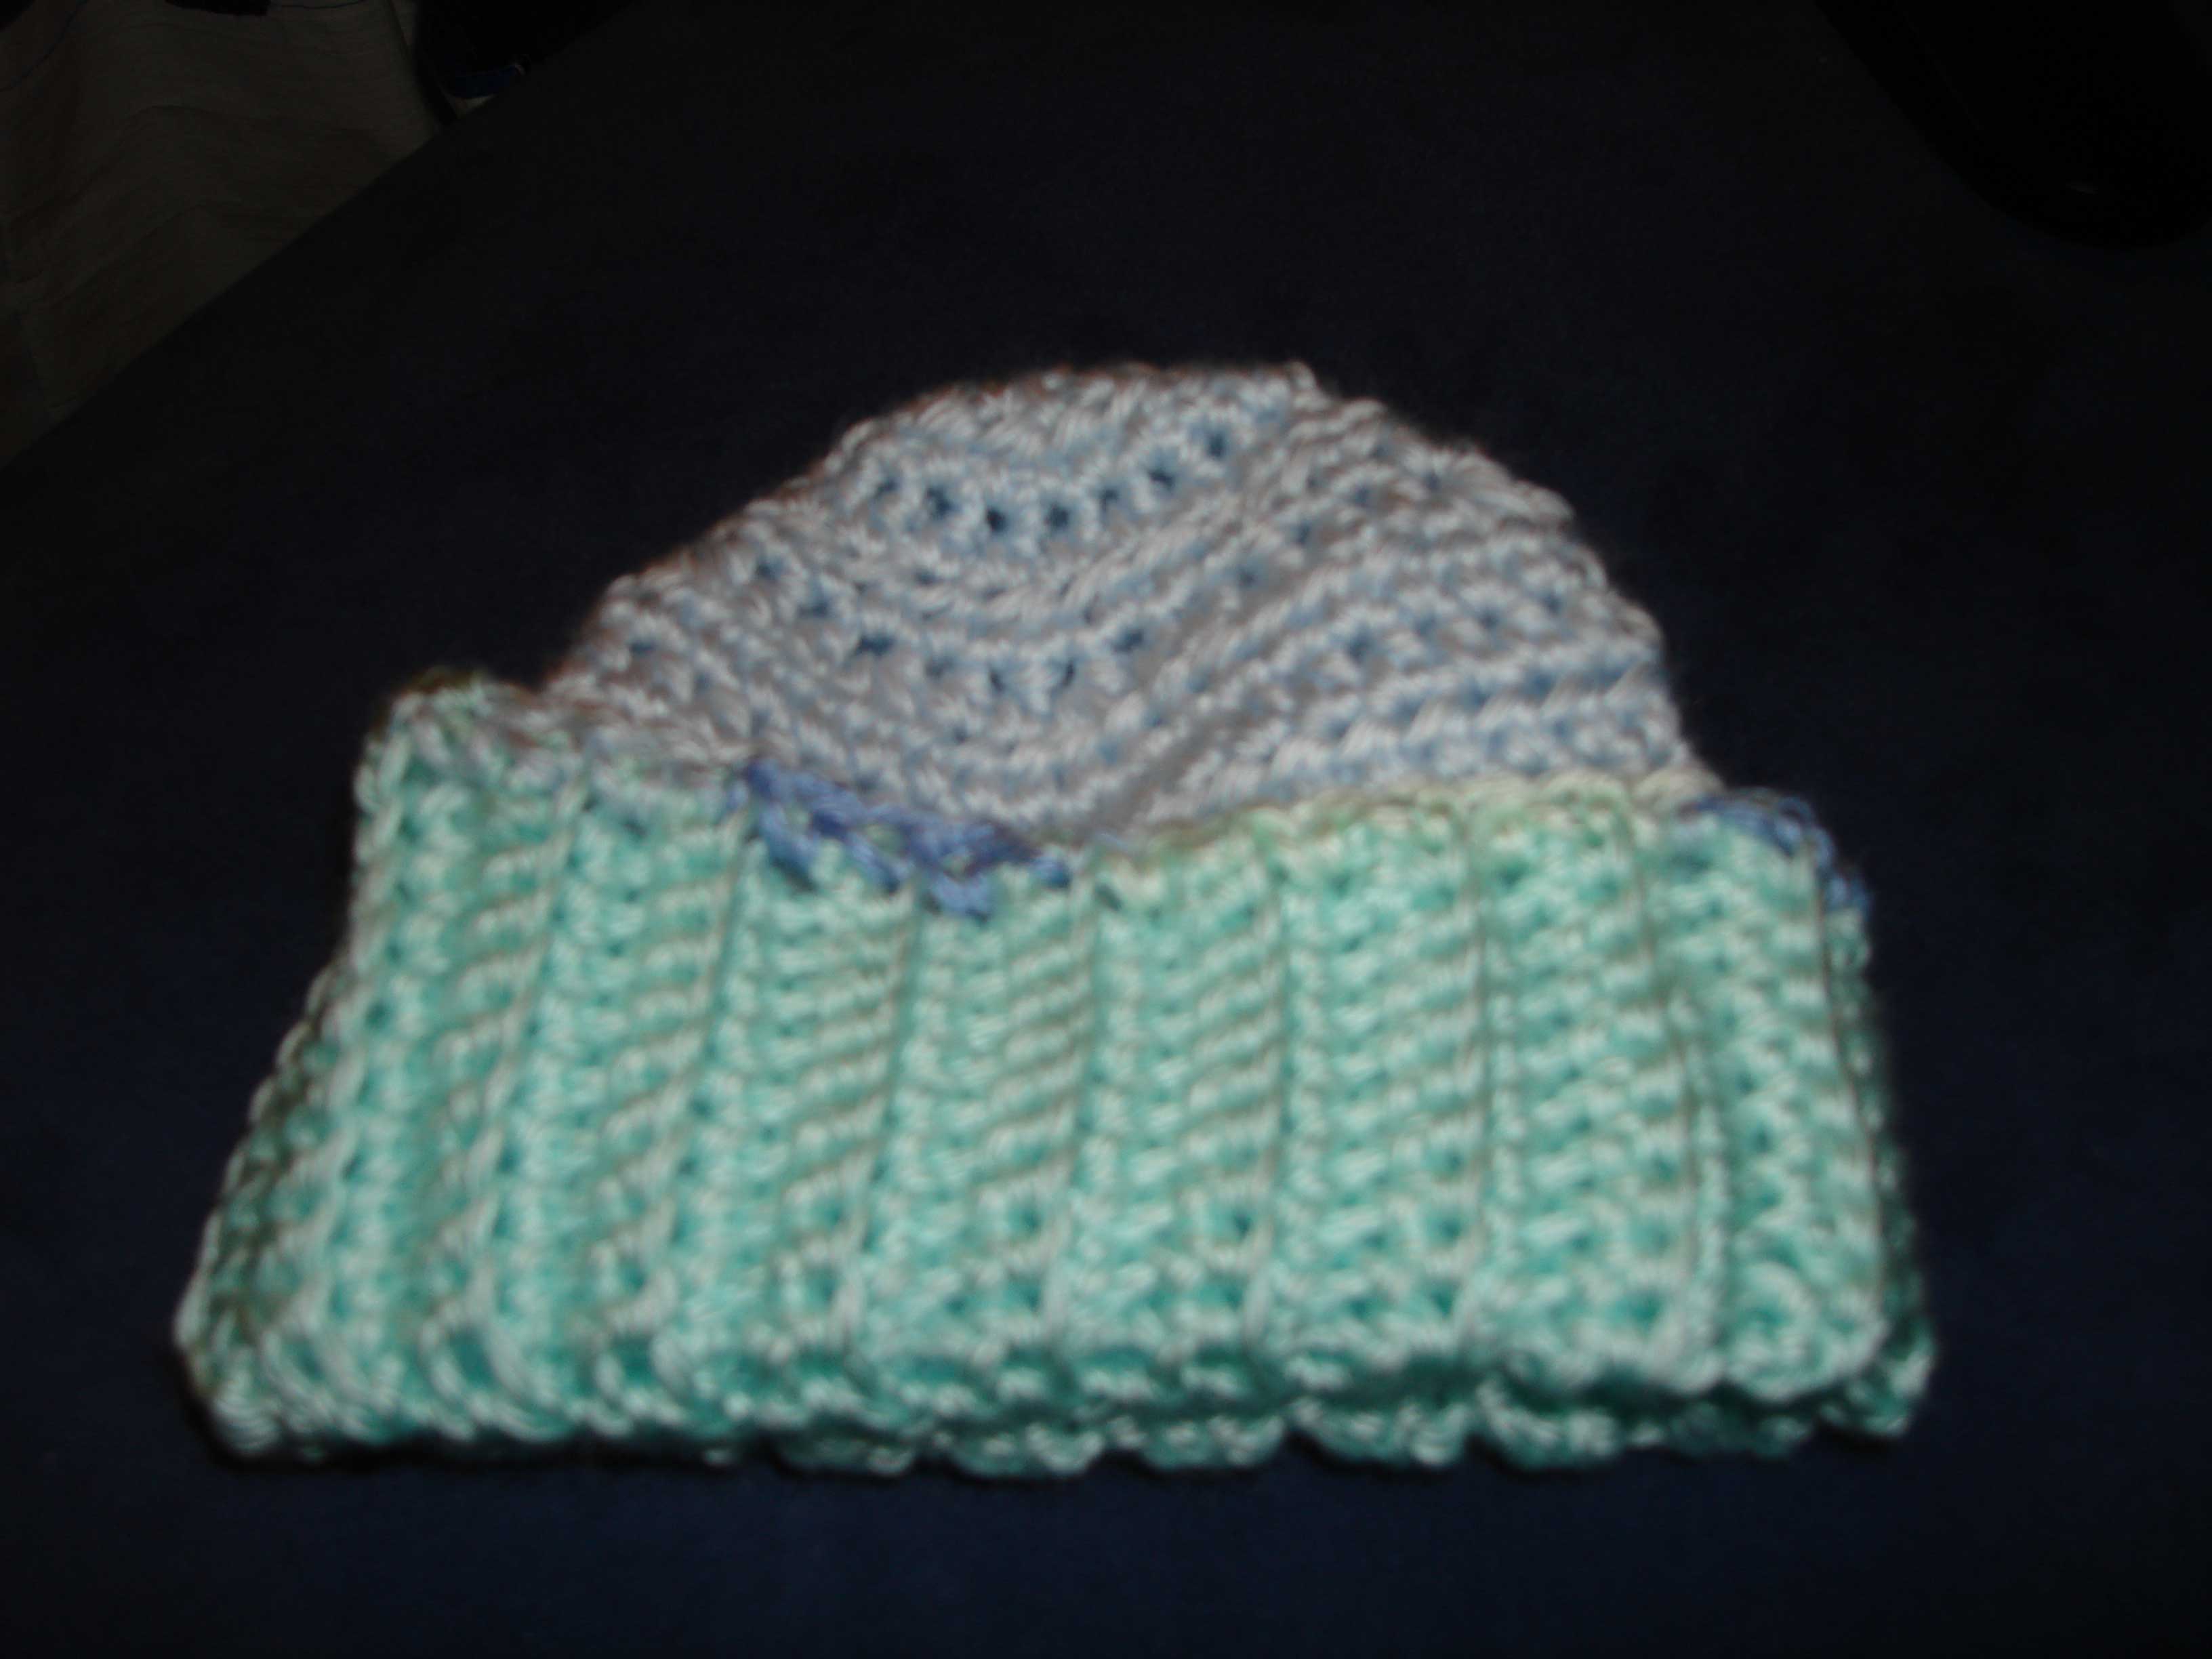
Checking the size of the top part of the hat (done by folding the brim over the top).
The top section should be equal to or slightly larger than the brim. When that is
the case, you are ready to start the decrease rows.
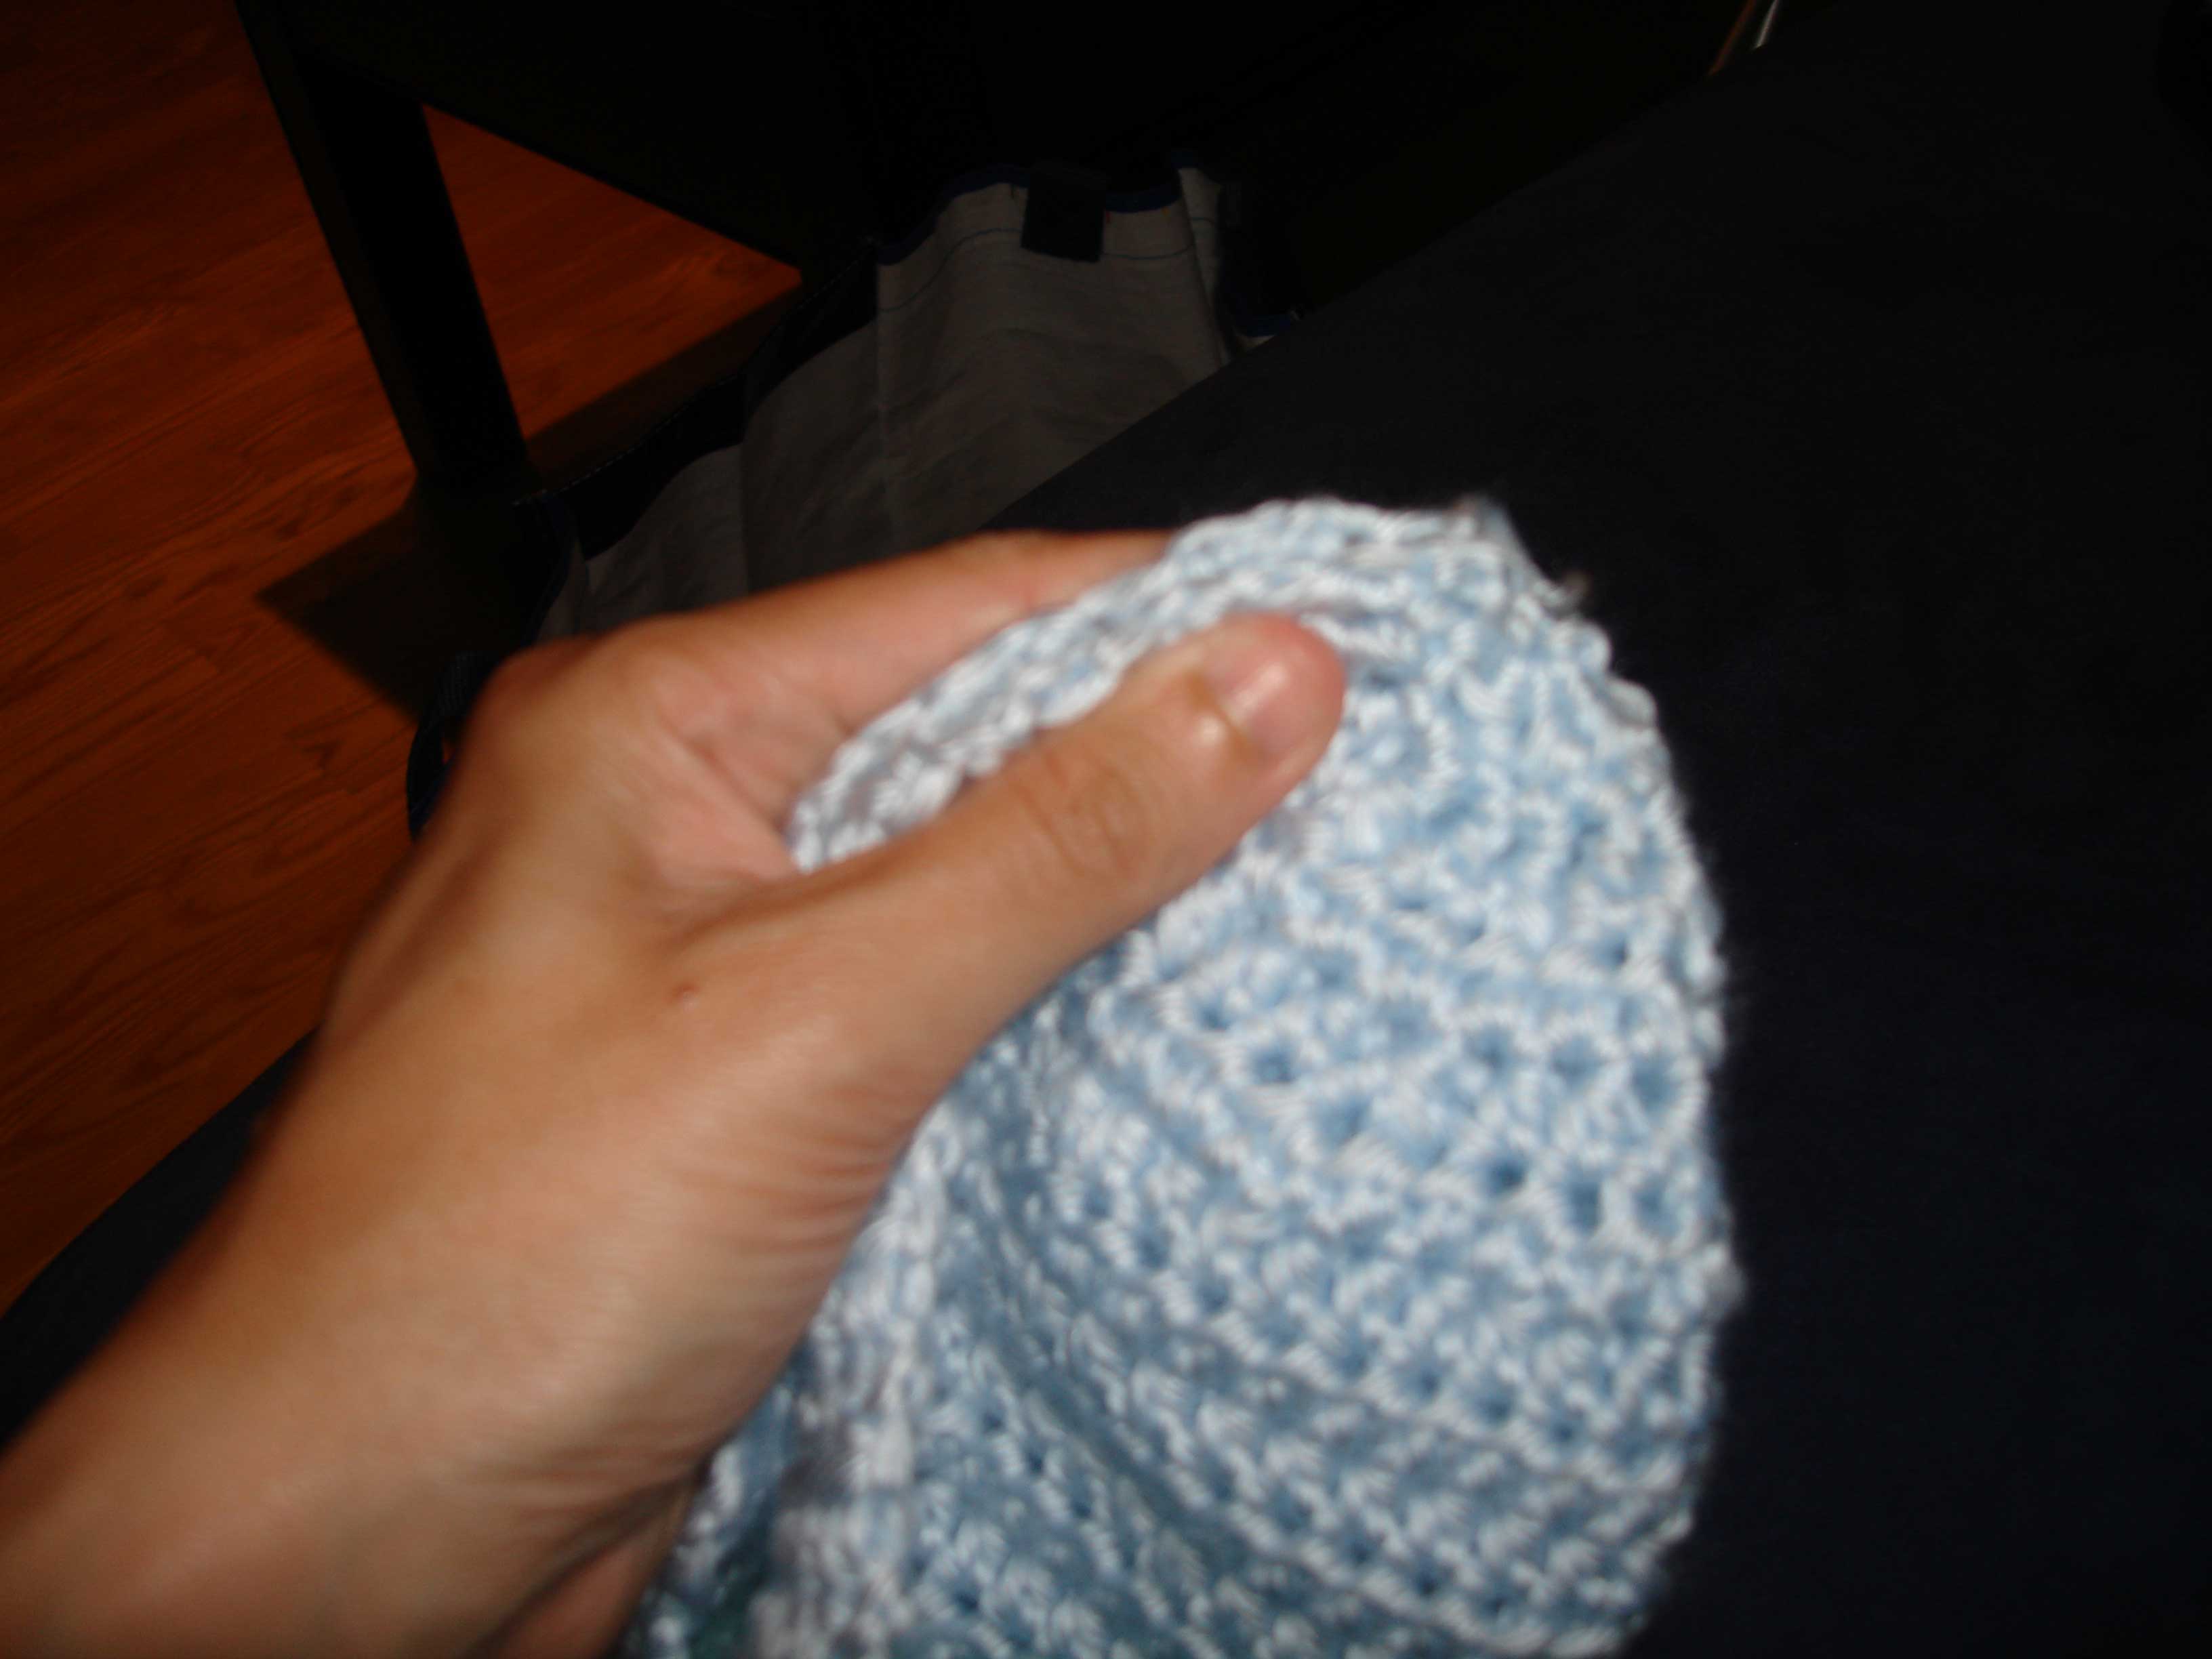
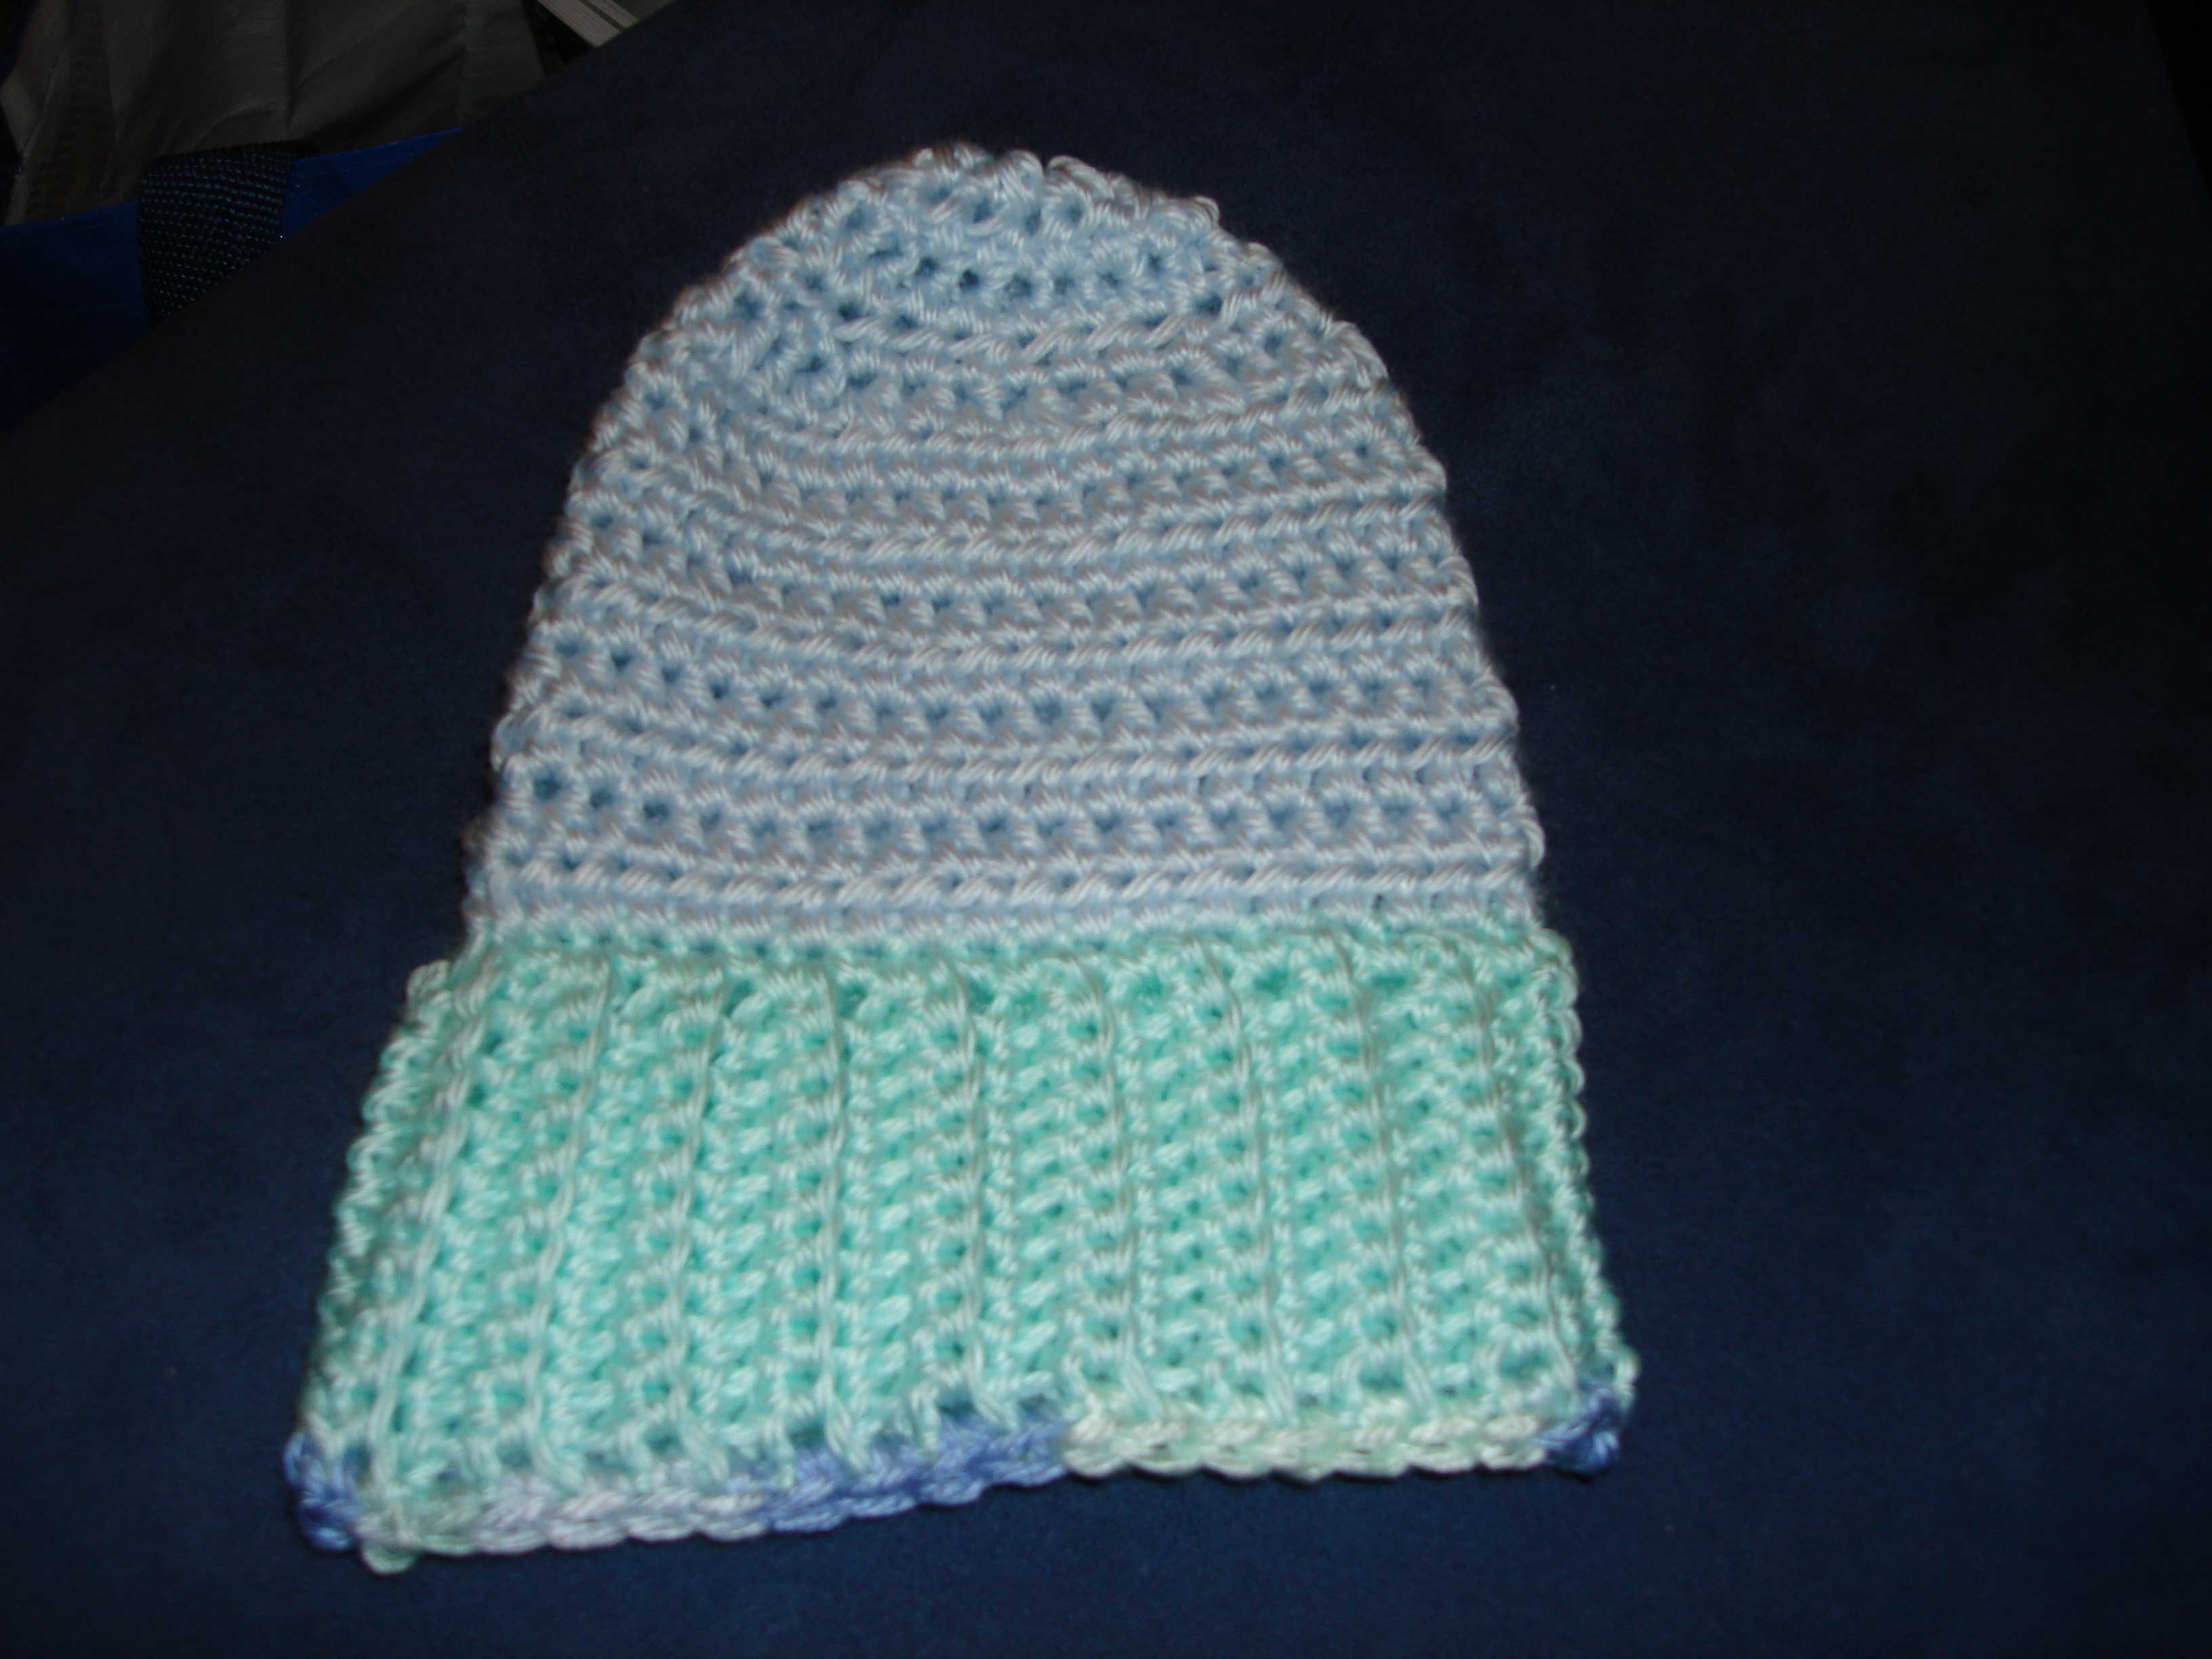
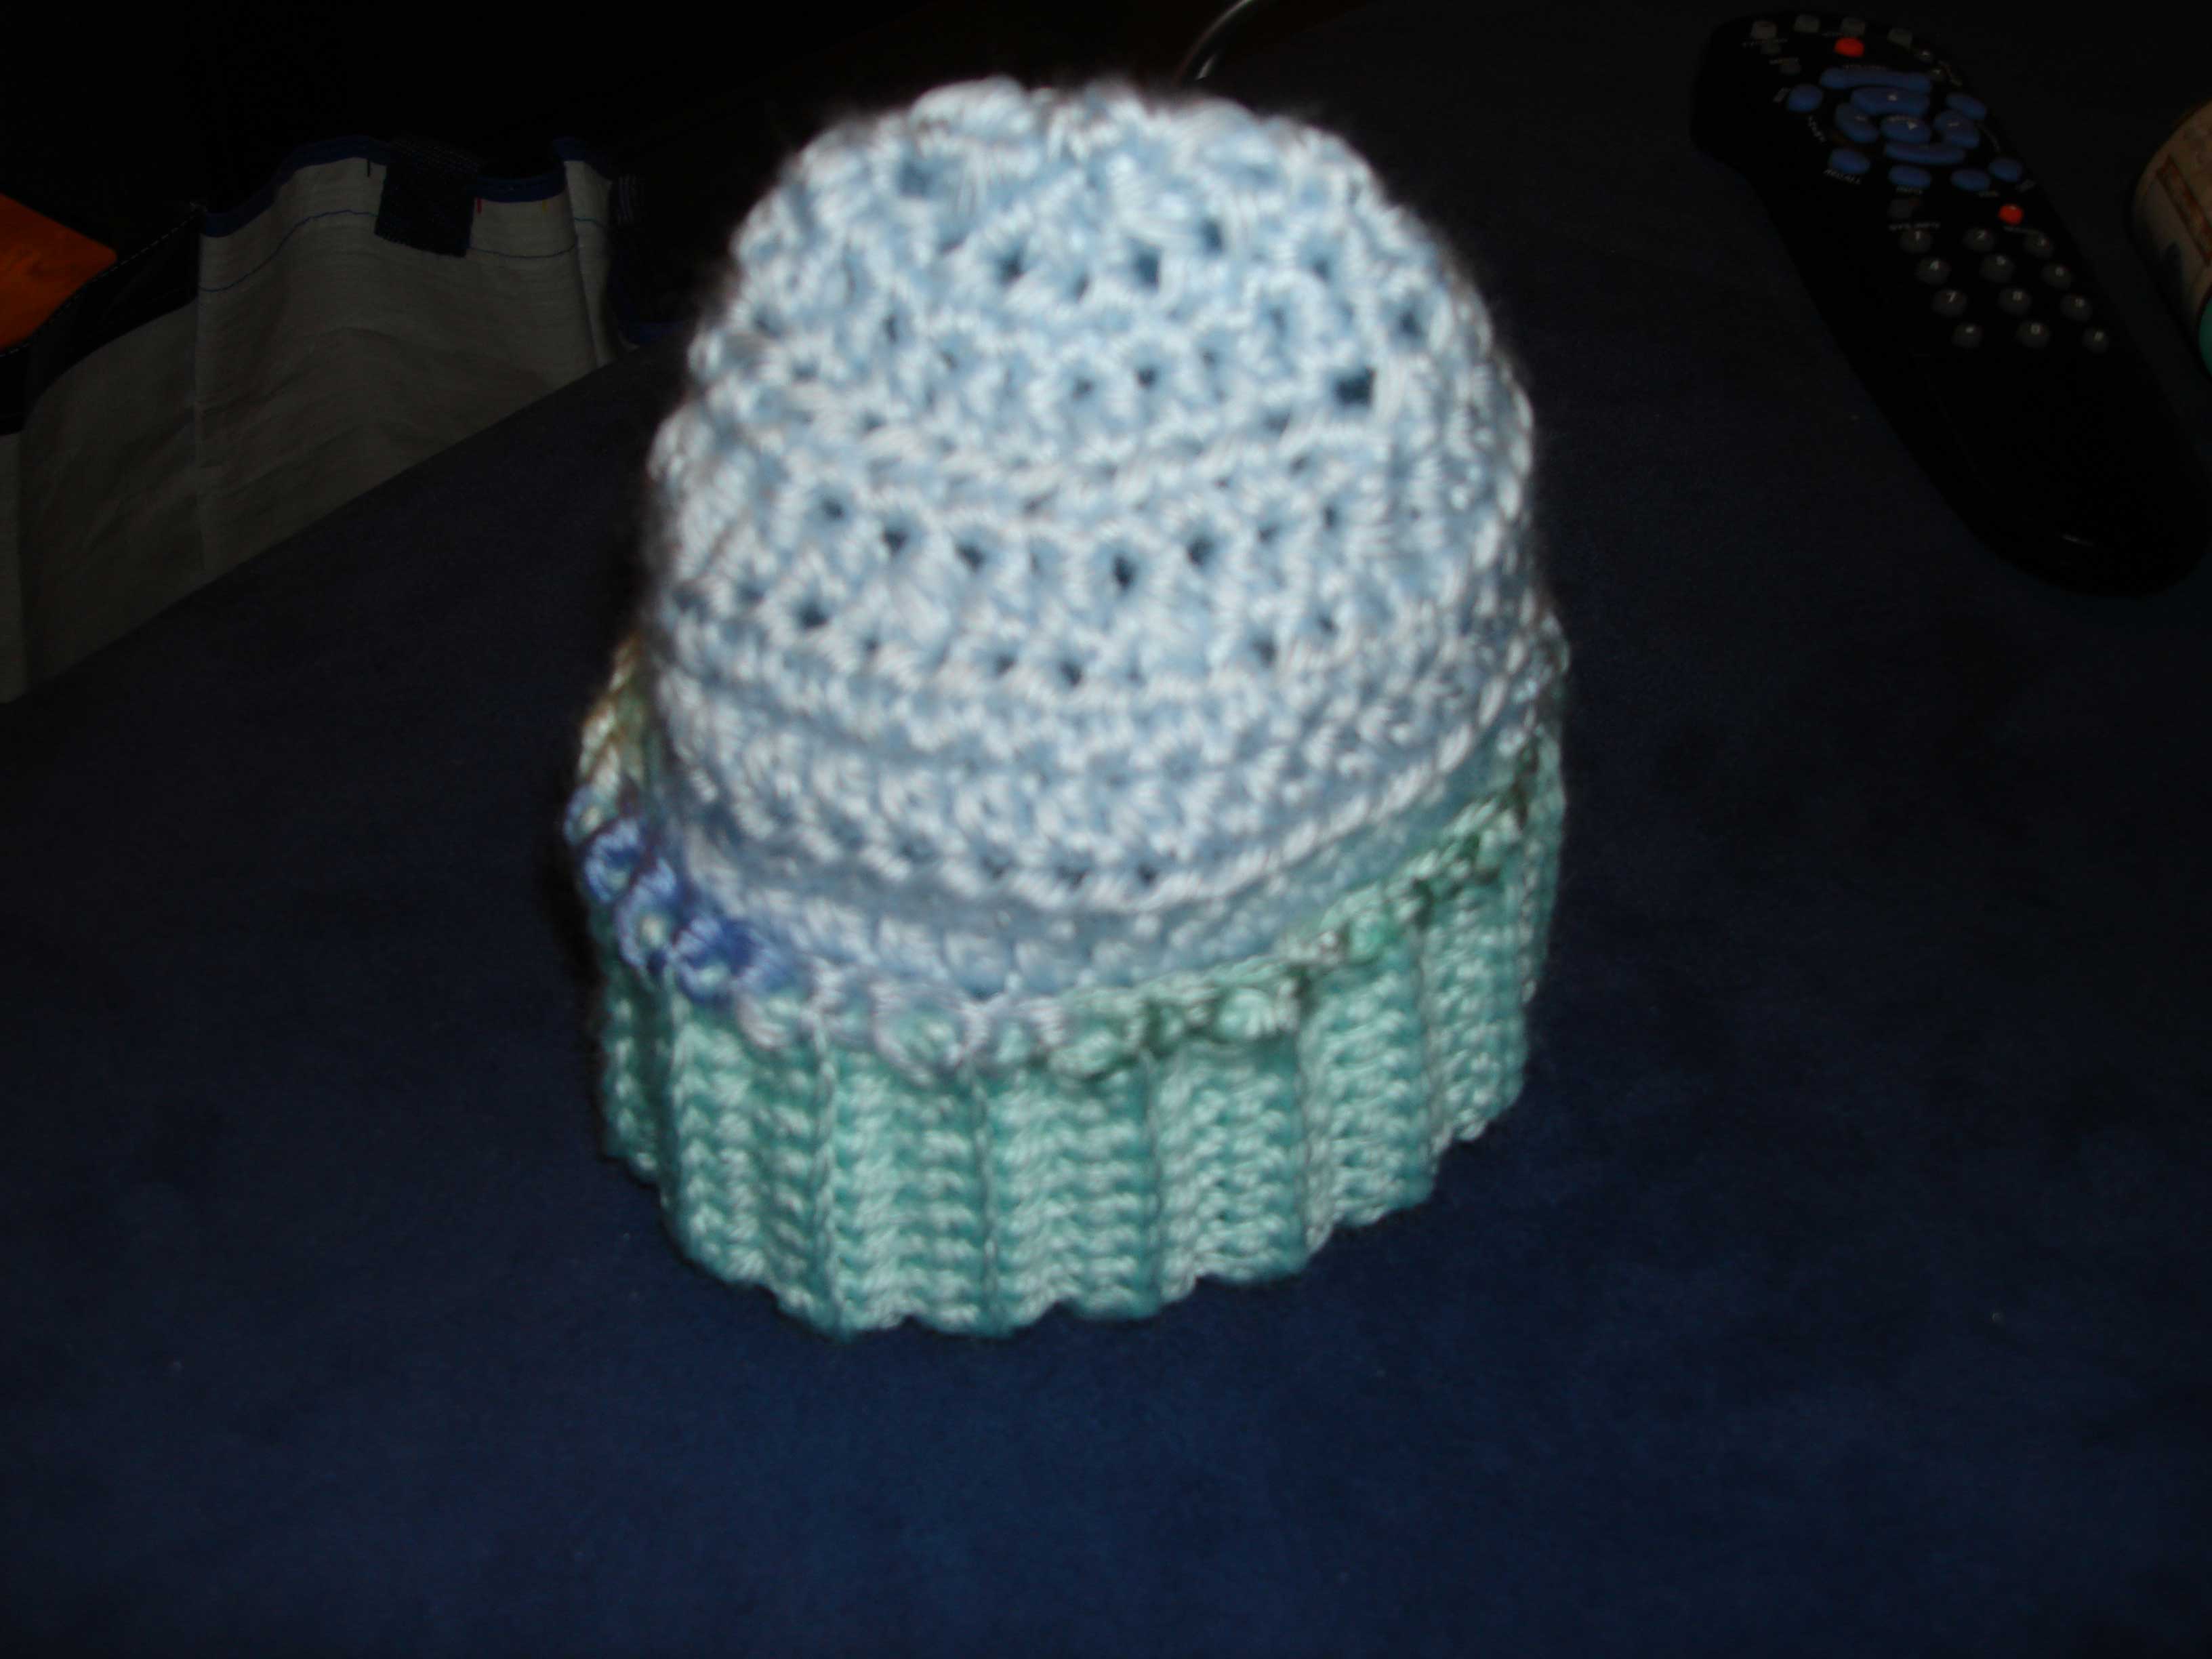
This is what the hat looks like after completing all the decrease rows.
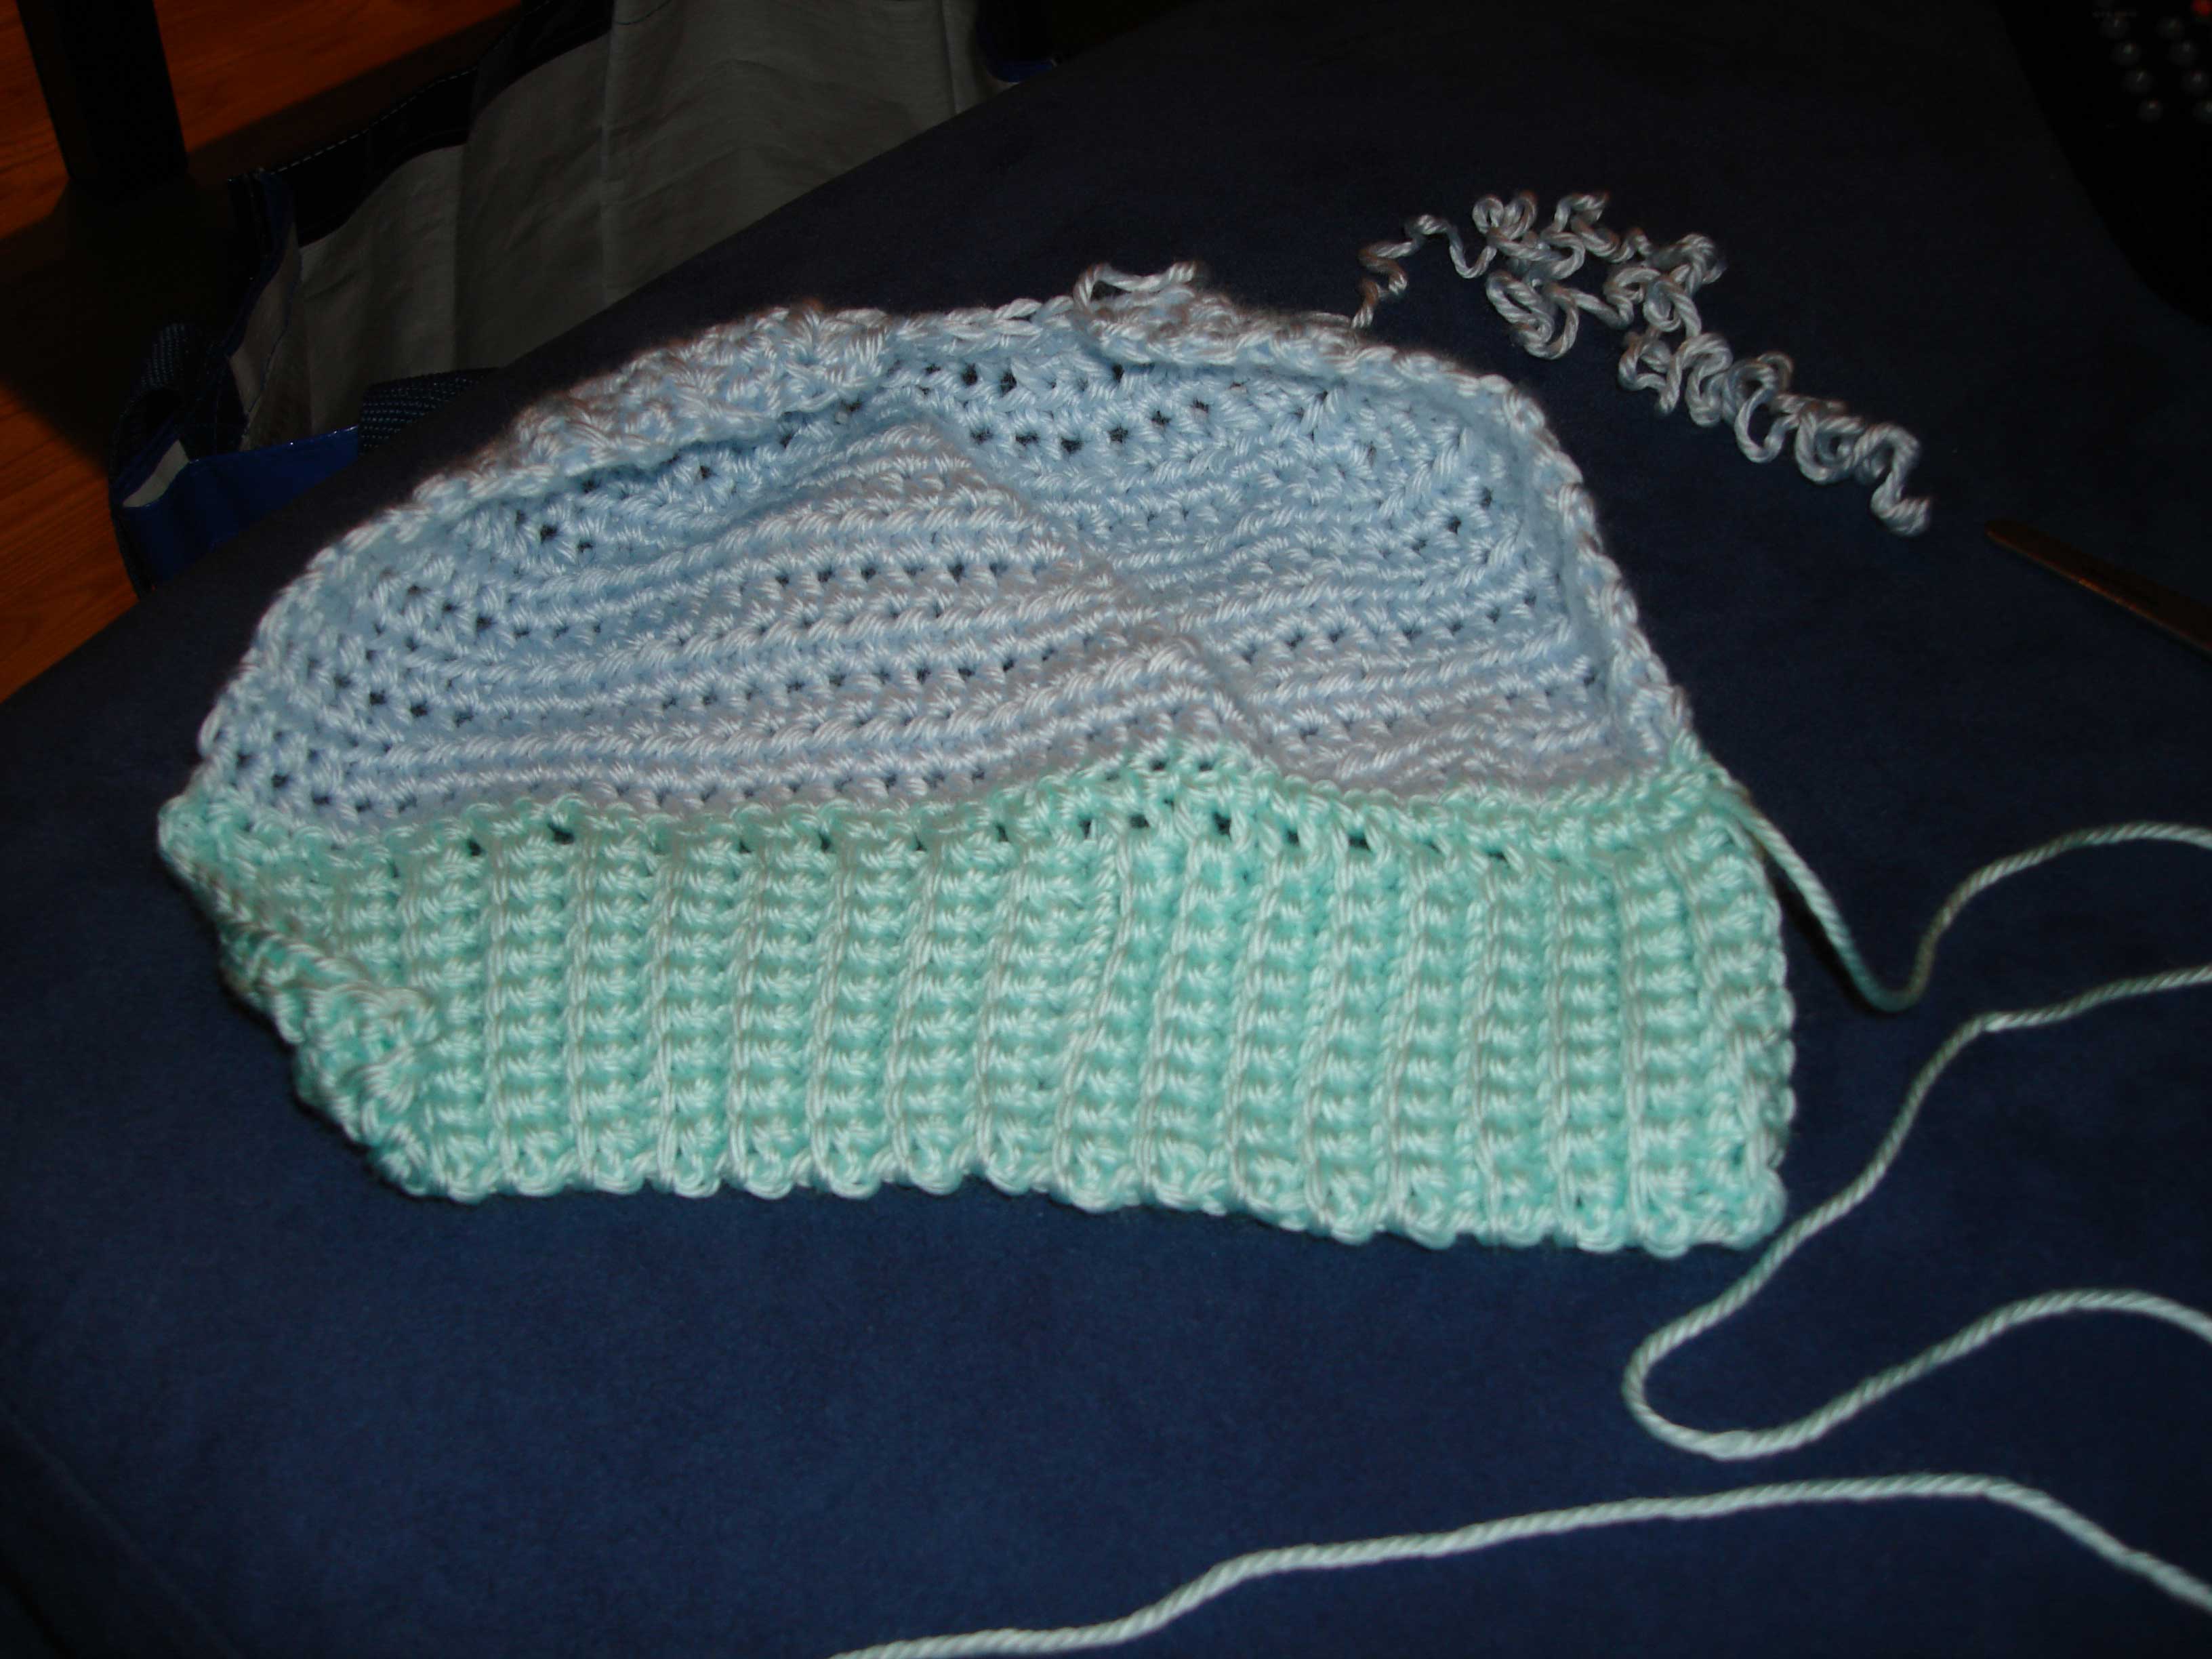
This is the same hat, after I have sewn in the 2 short tails.
The remaining 2 long tails are used to sew the hat closed.
Starting to sew the crown closed.
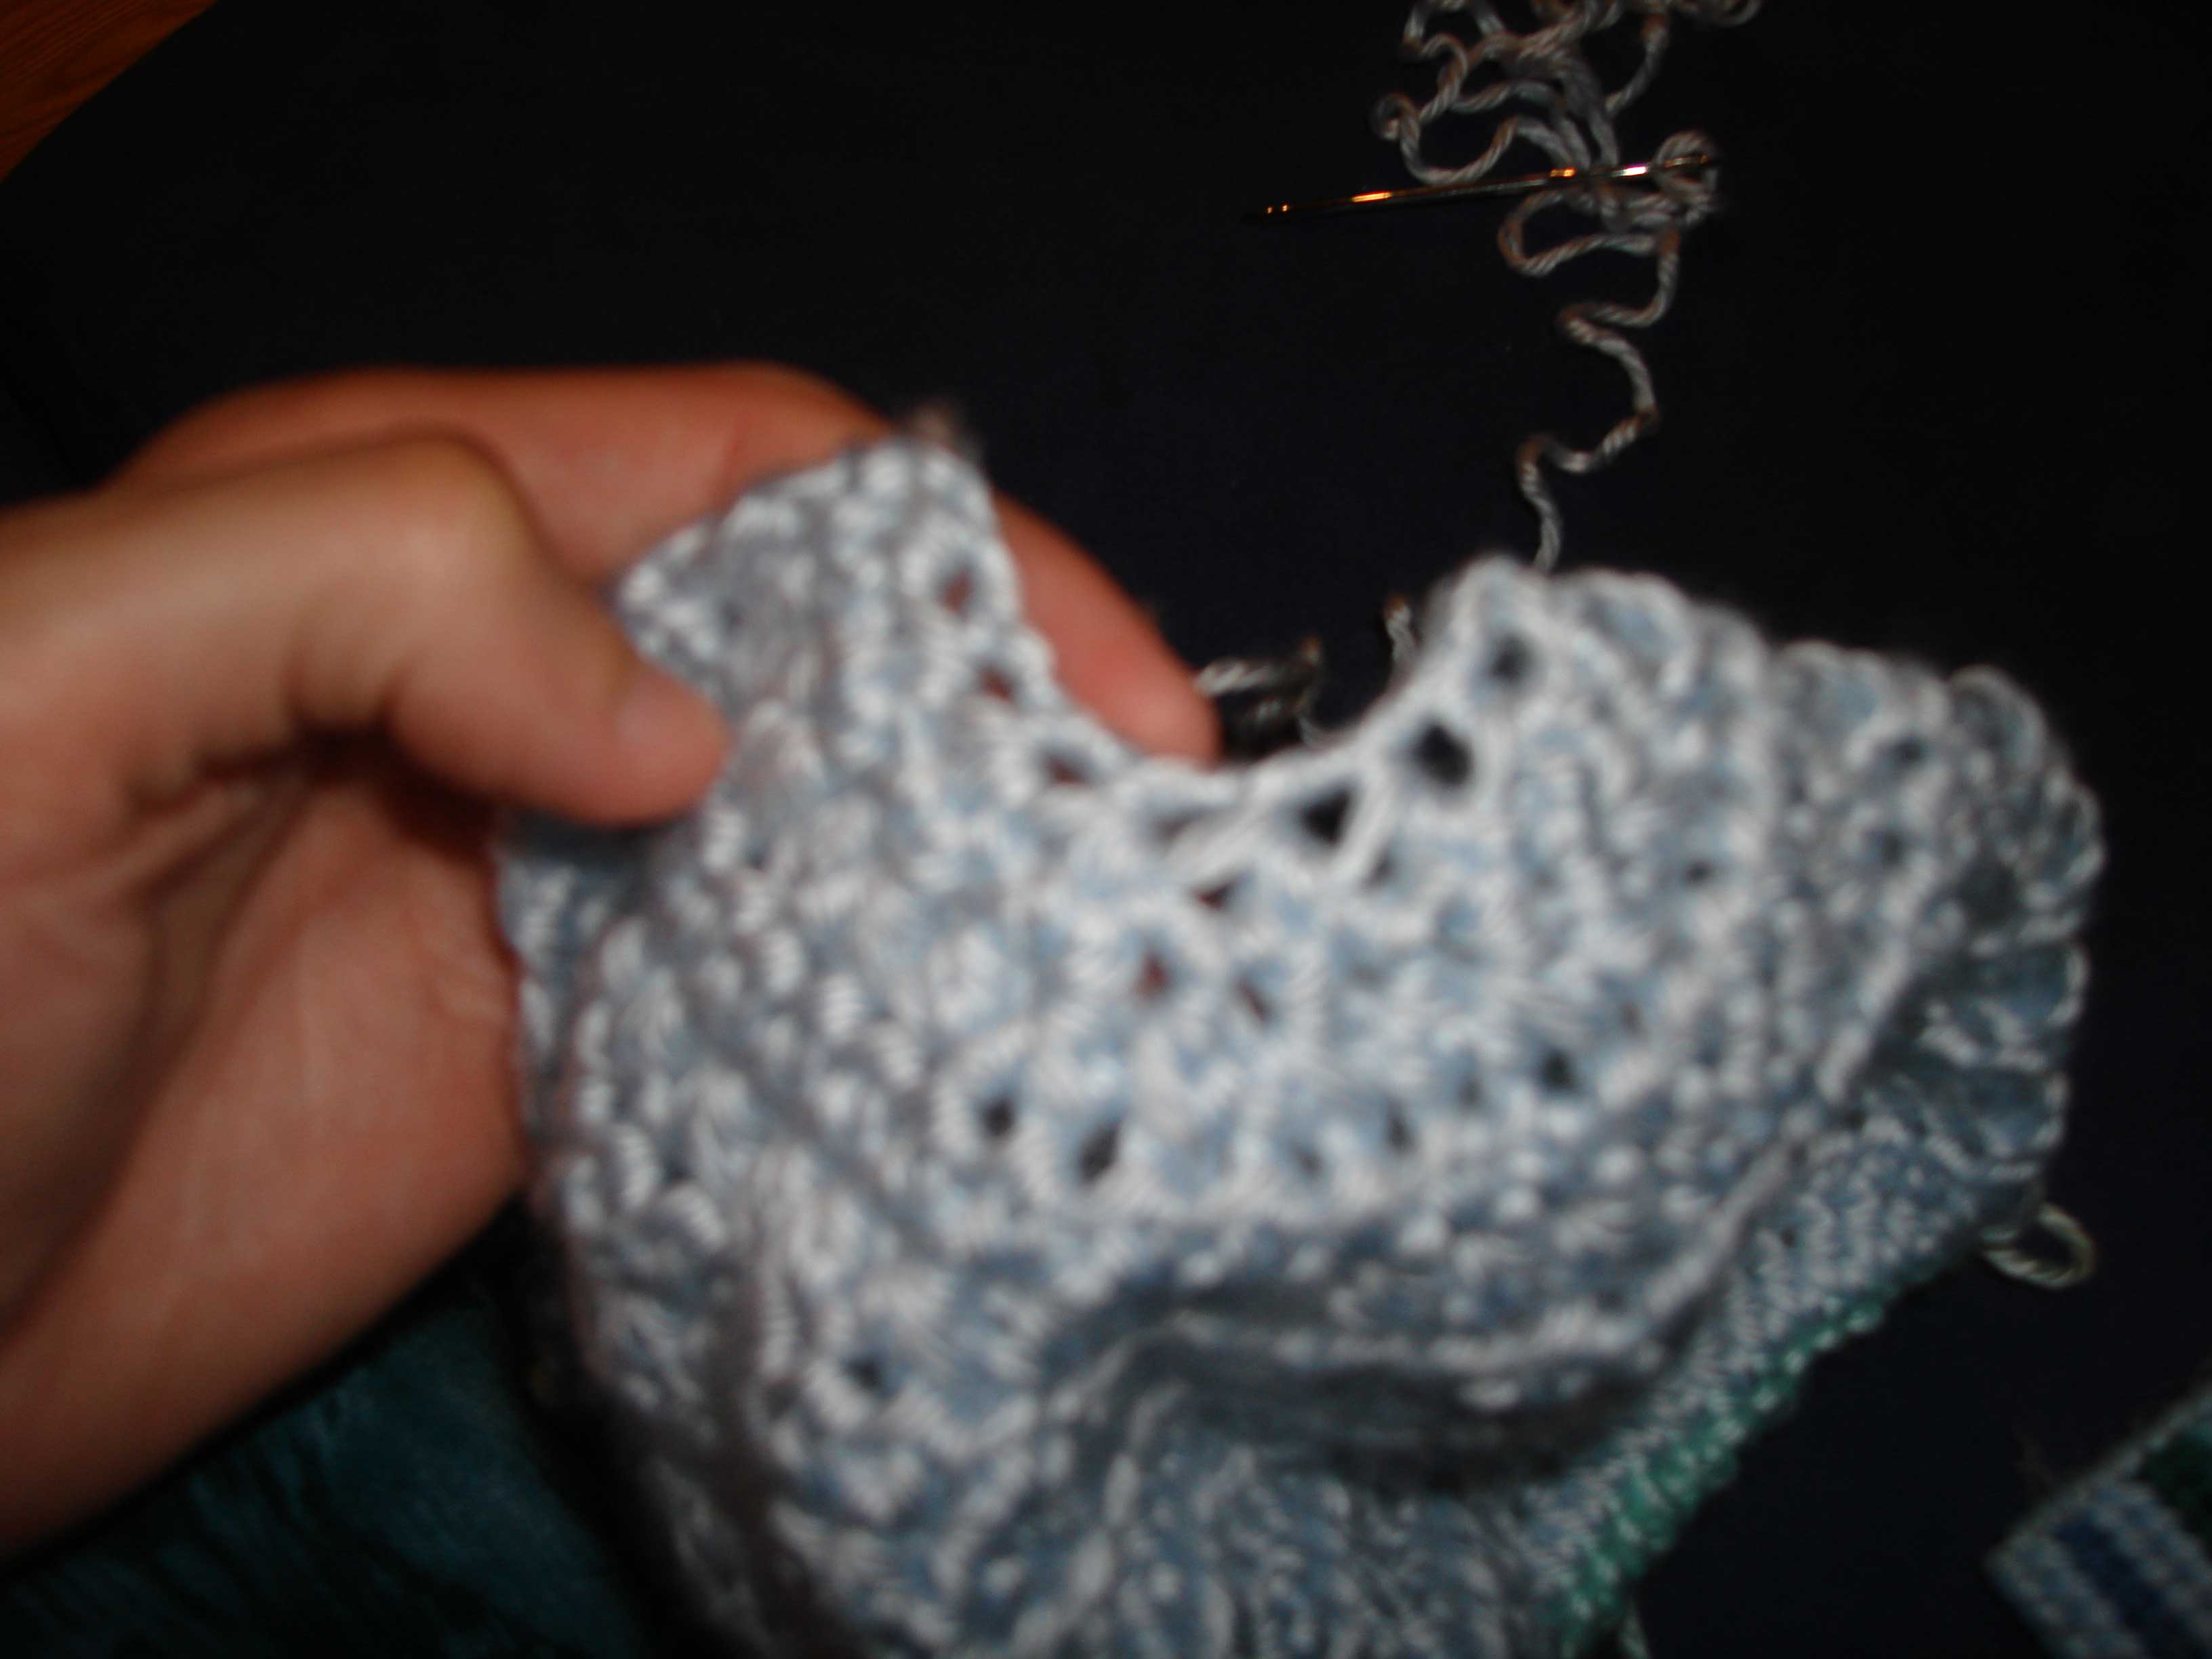
Stiches are now through all the loops in the crown.
When they are pulled tight the crown will close.
Starting the side seam.
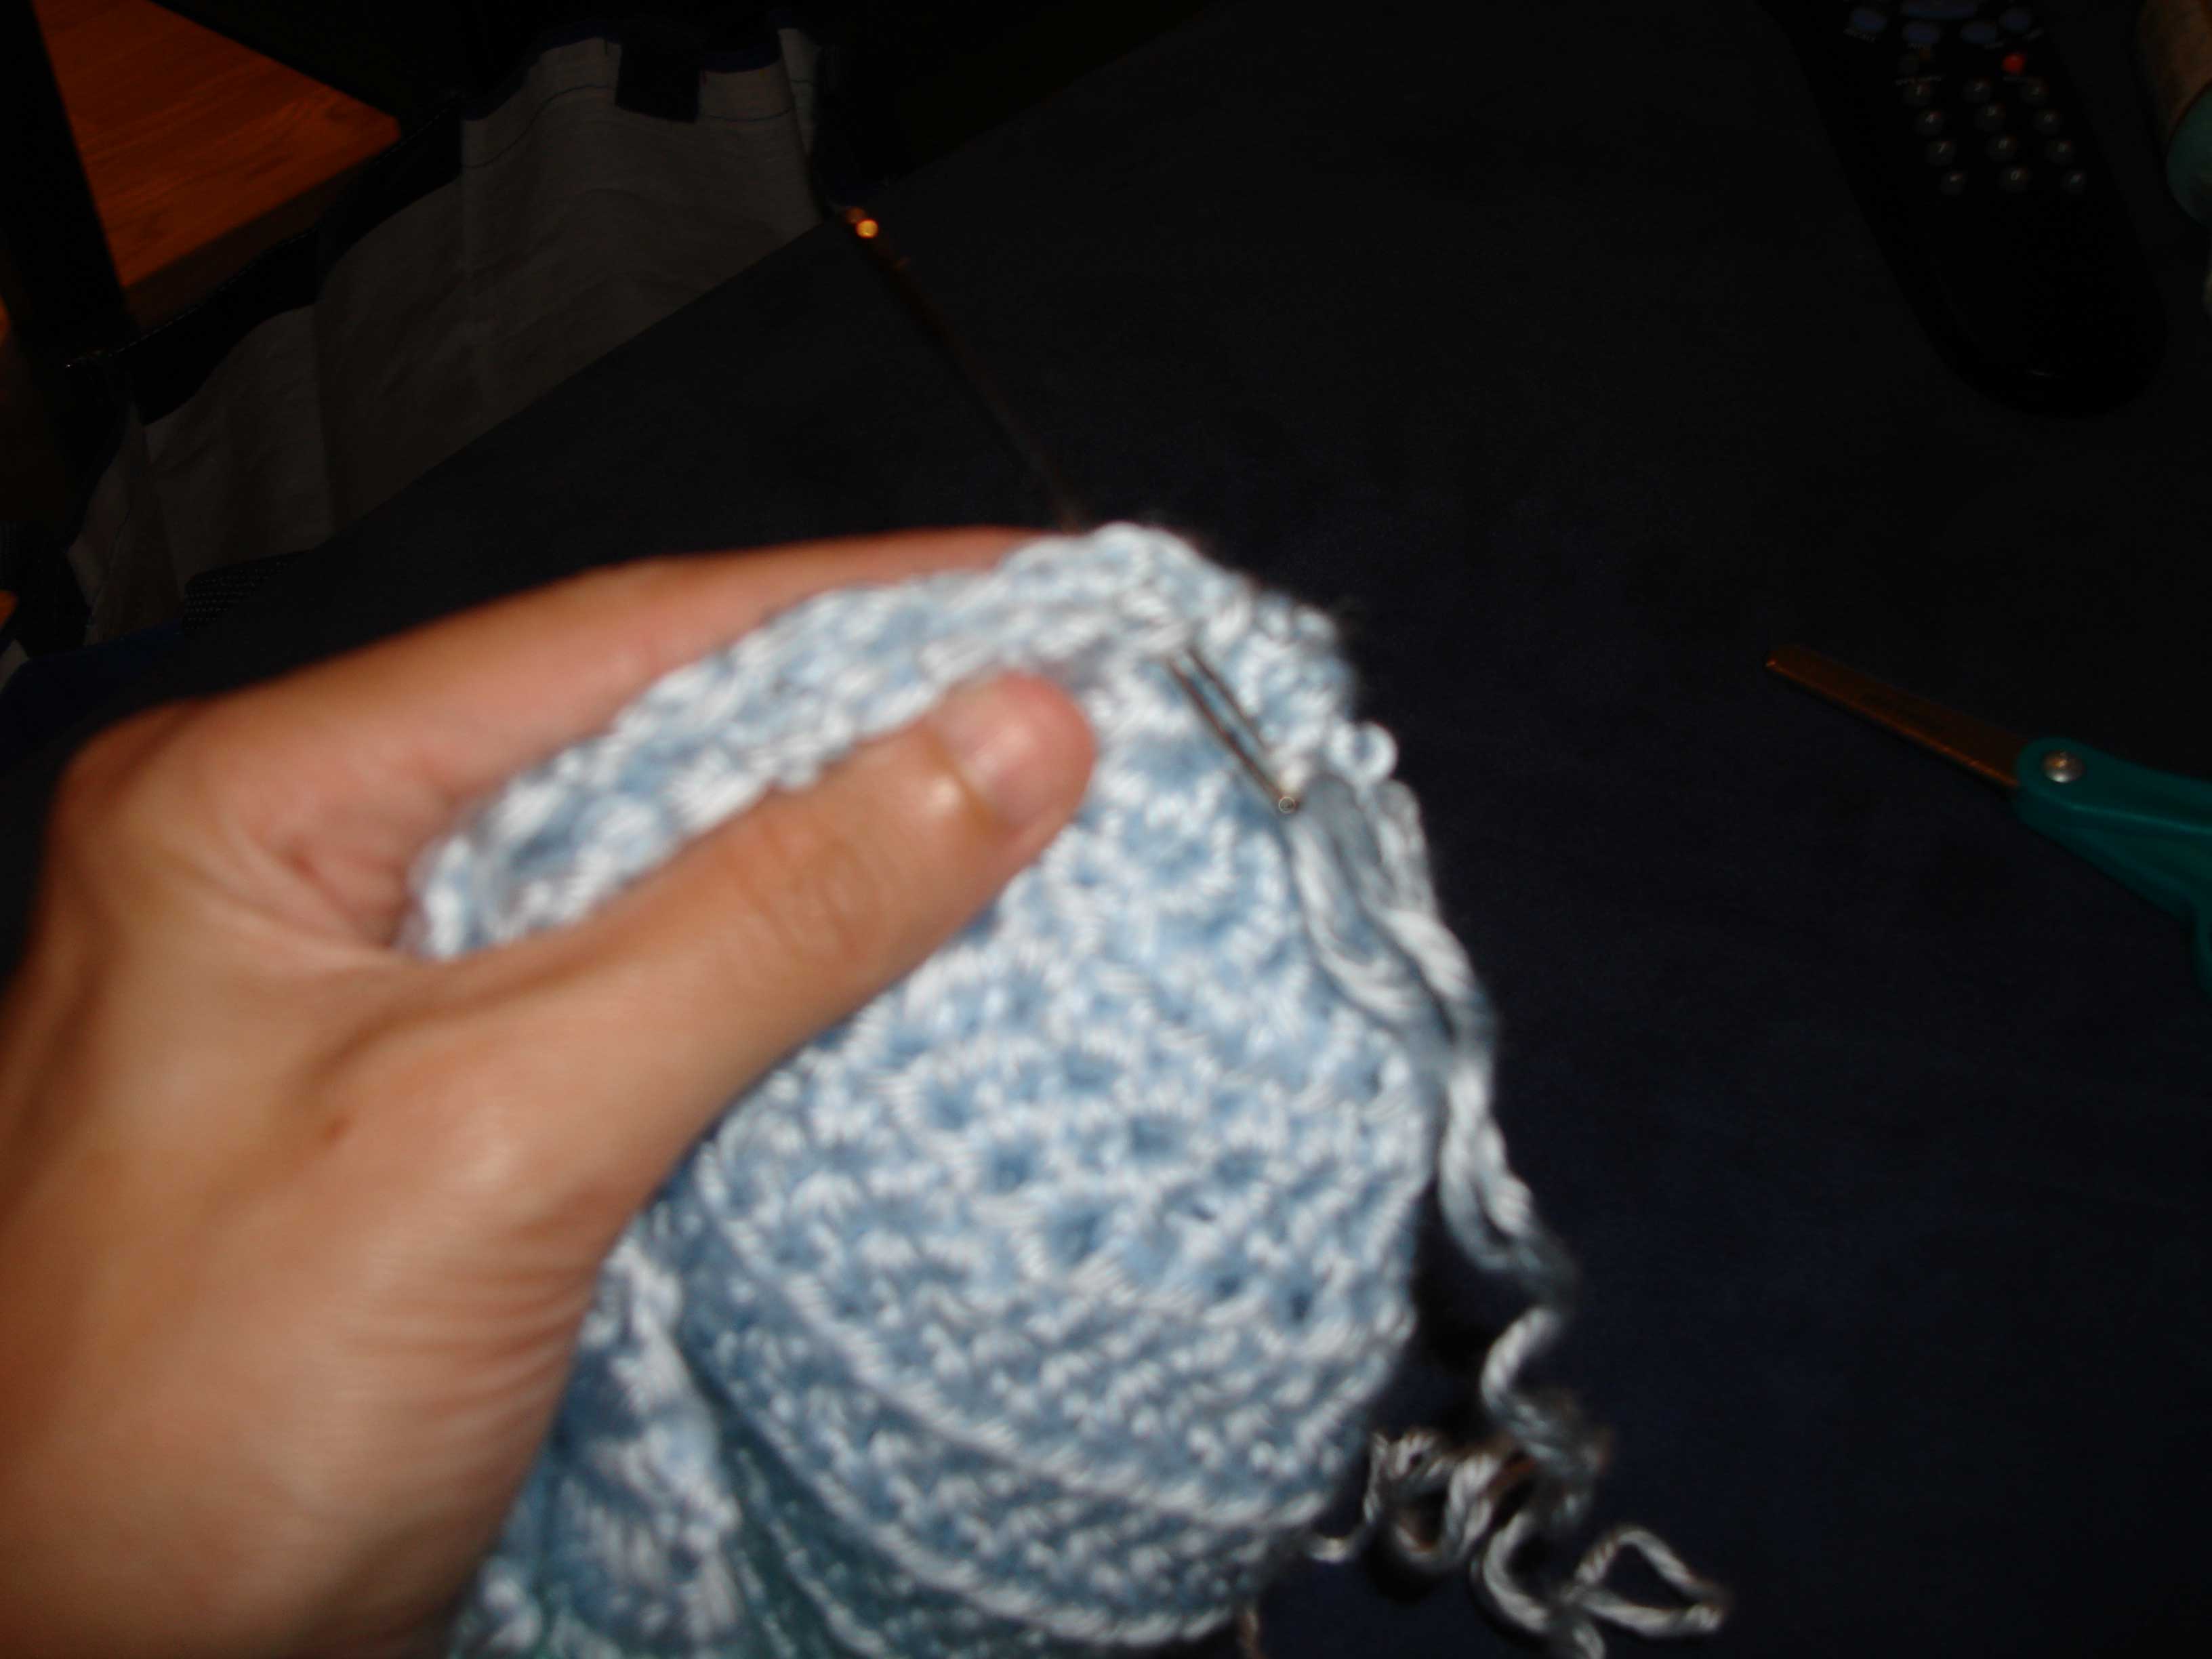
Working down the side seam

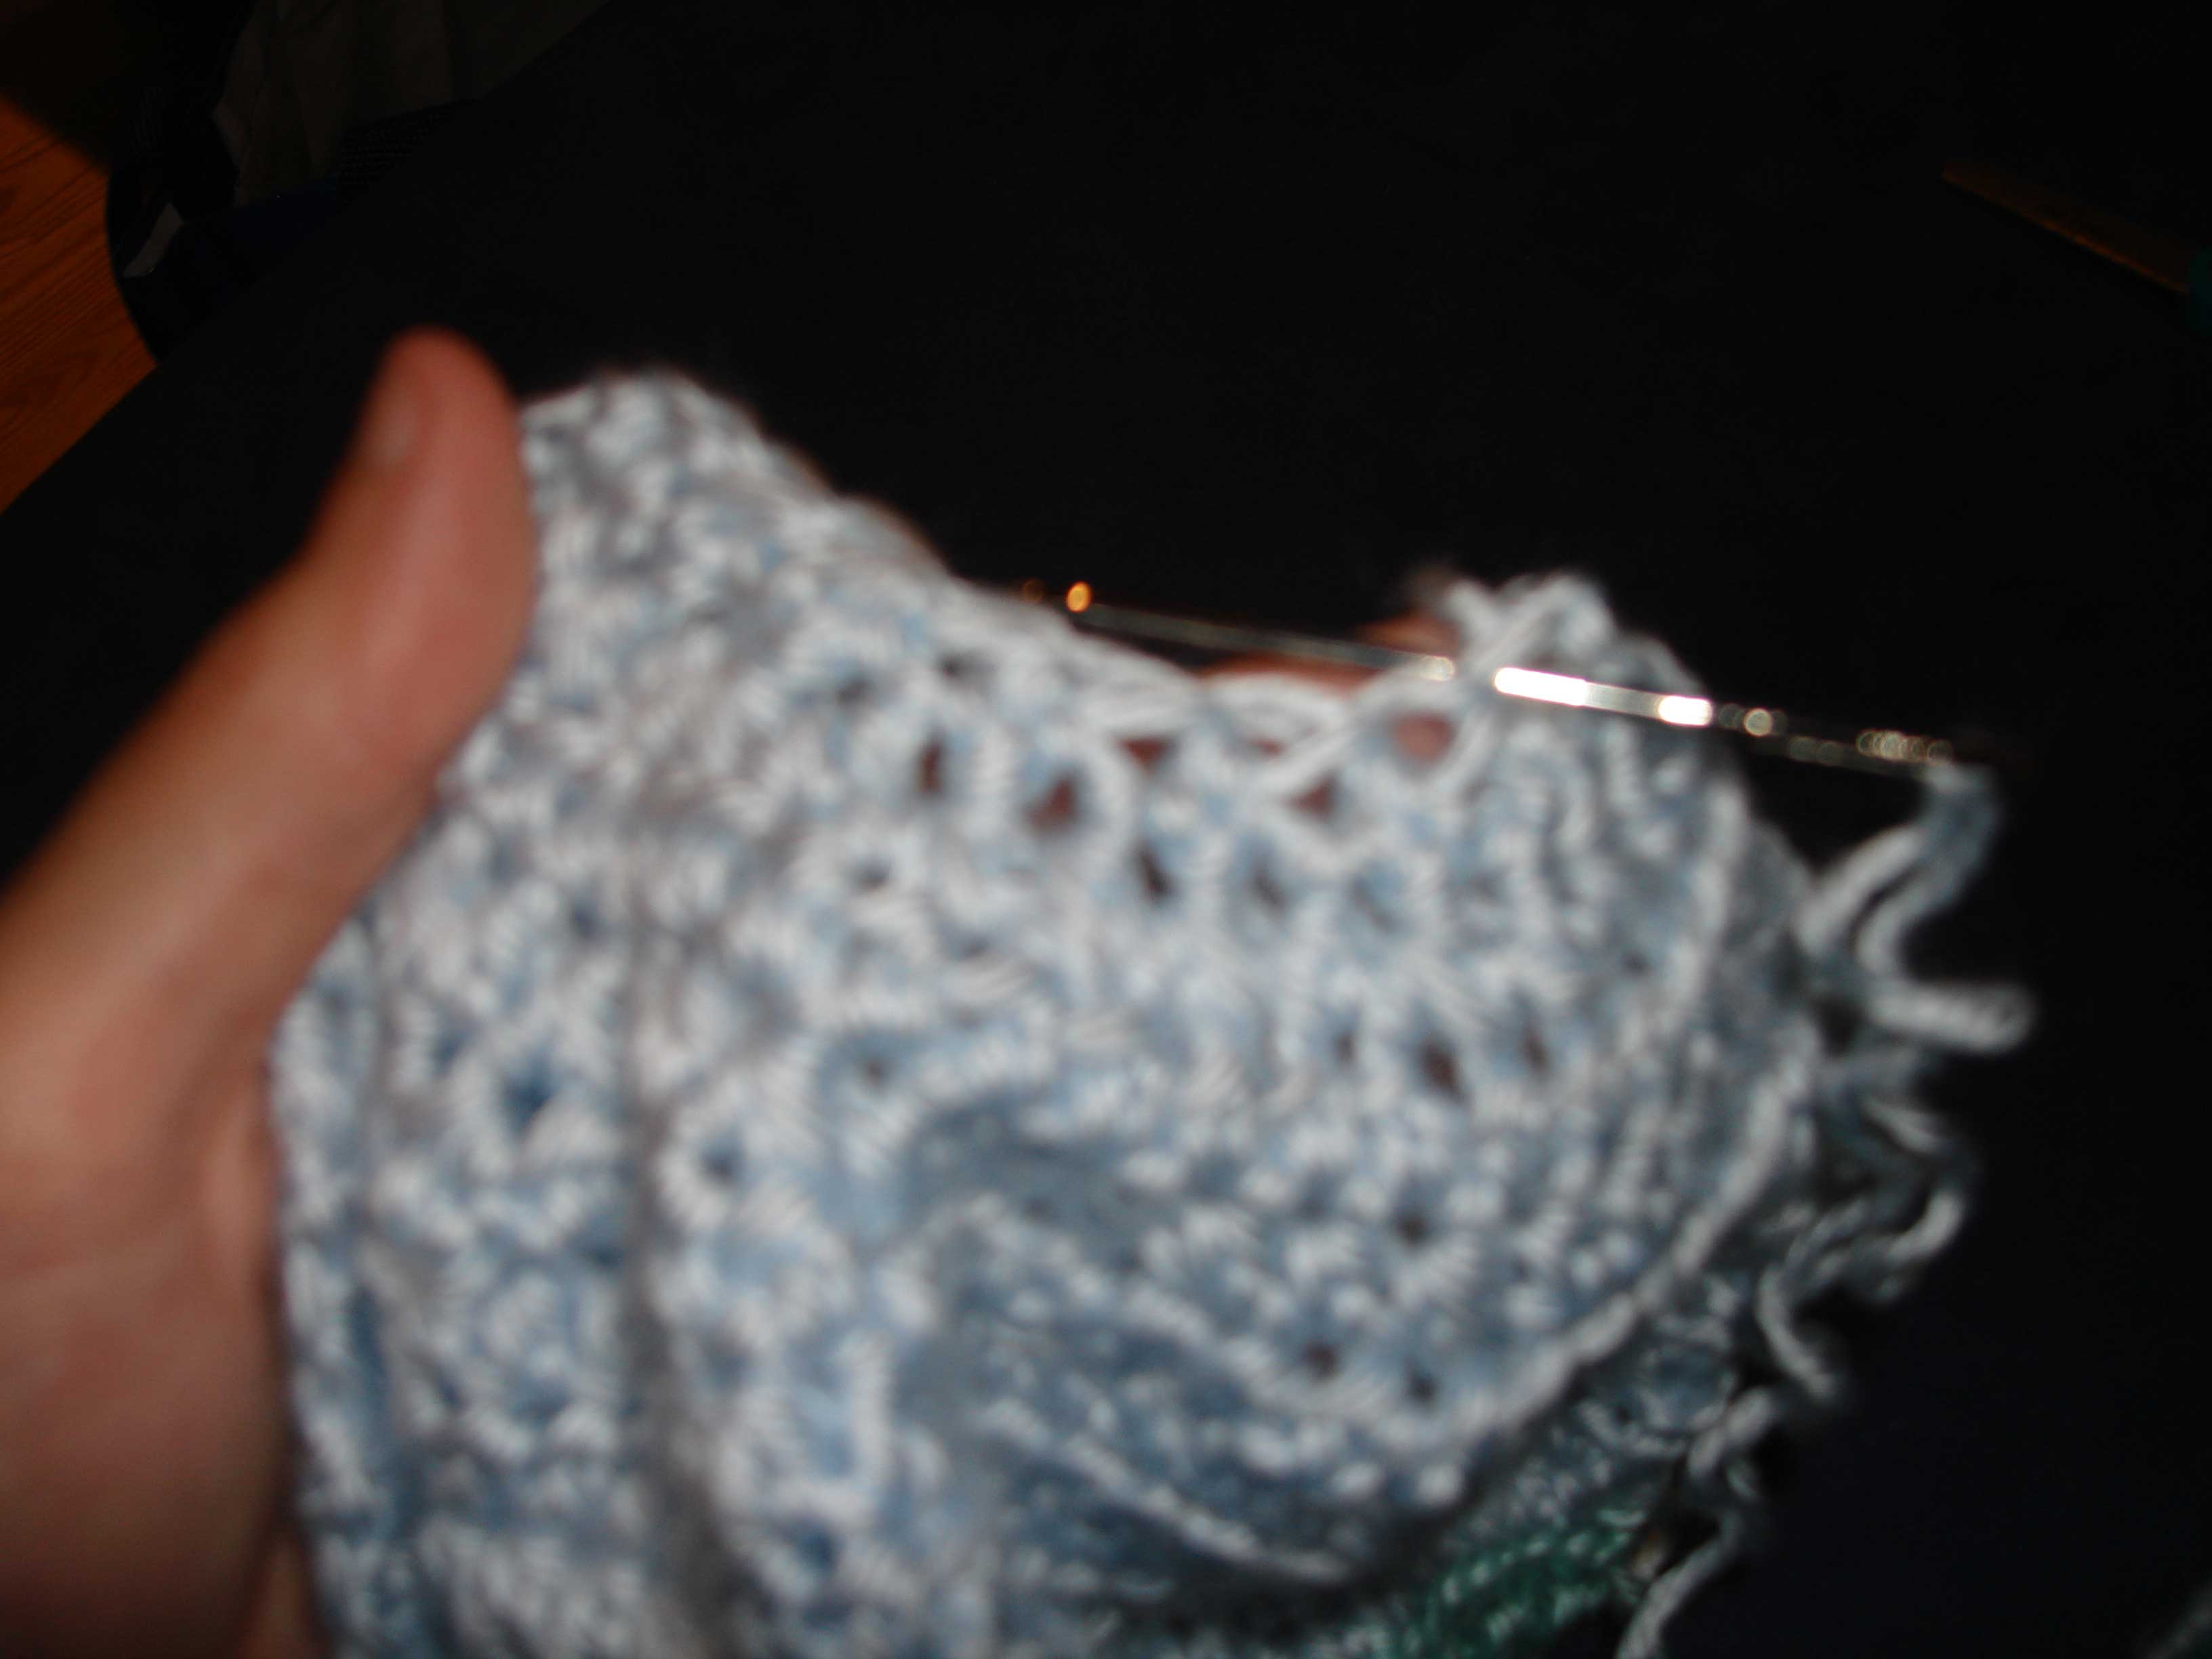
Sewing in the tail from the top of the hat.
Next step, sewing closed the brim.
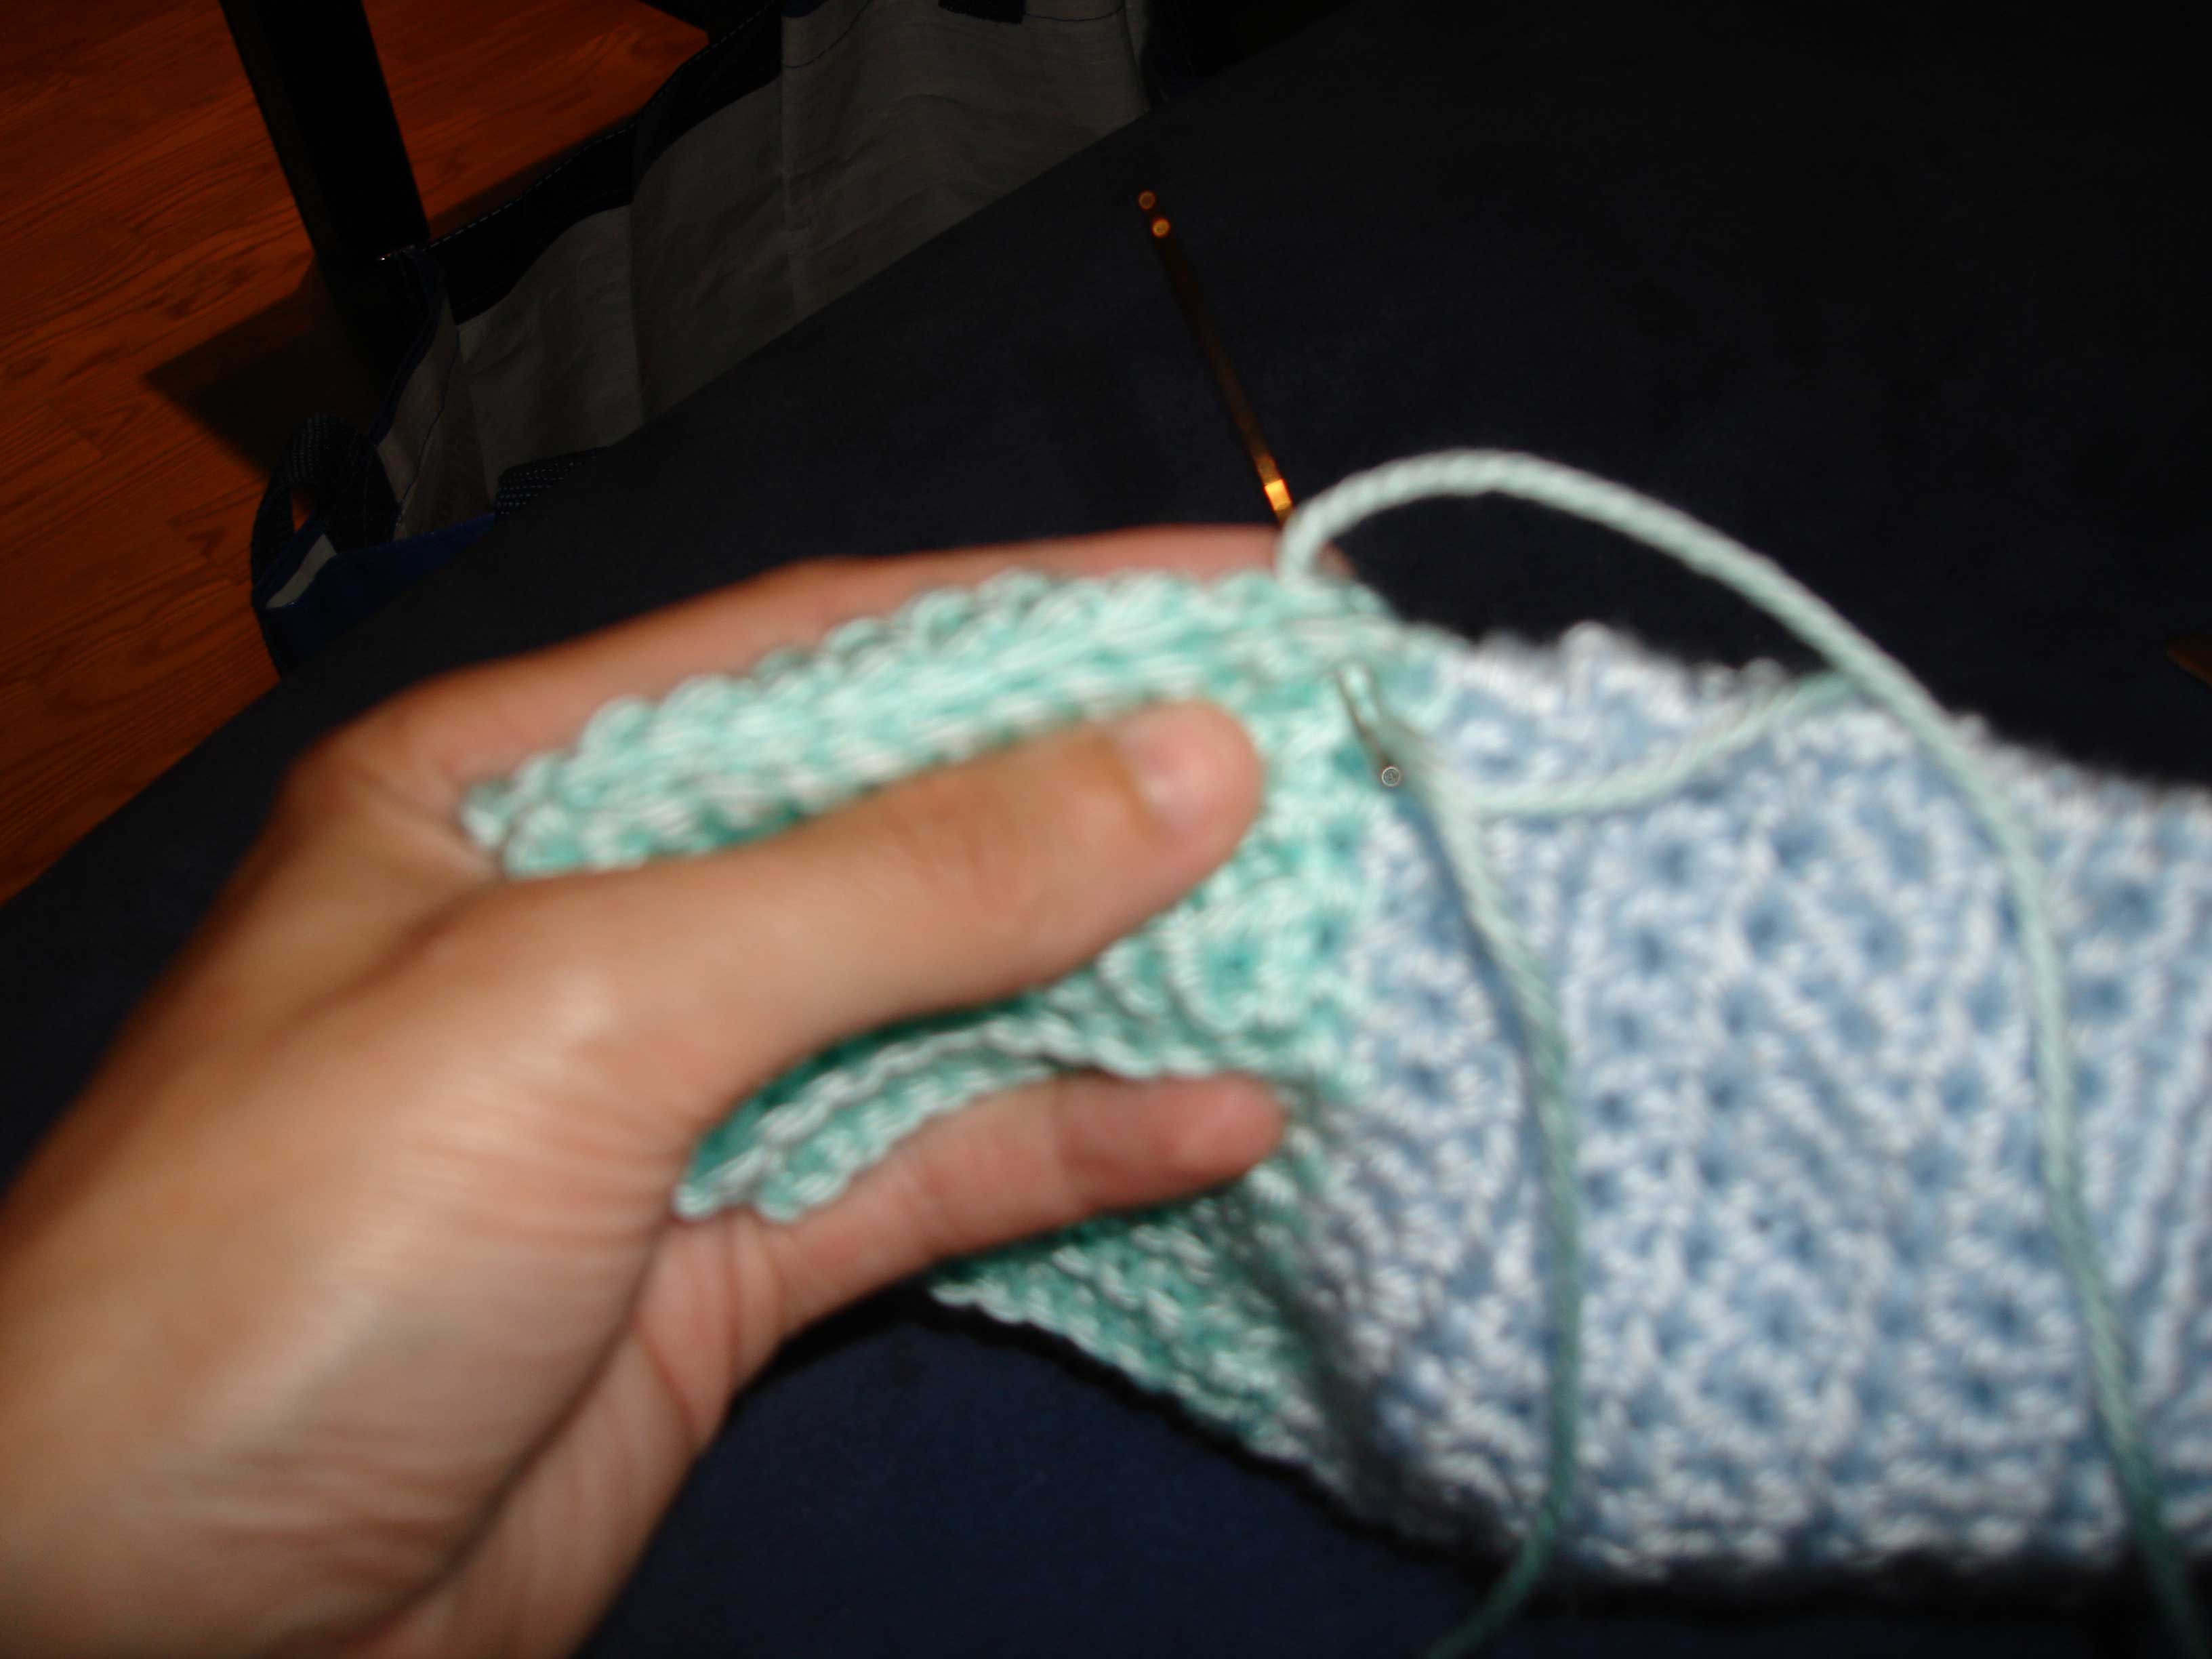
Seaming the brim (using the second tail)
Note: If the whole hat is one colour, this tail is not used to seam the brim.
Instead, the tail from the crown is used to seam the entire hat.
The finished seam.
Another picture of the finished seam.
After seaming, turn the hat inside out (so the seam of the top is inside the hat)

Fold up the brim. The hat is ready to go.
If you want, add a row of contrasting edging to the brim.
The finished hat, with edging.
Another view of the finished hat, with edging.